Navigation
Settings ![]() > Customization > Changes > Statuses
> Customization > Changes > Statuses
Add/Edit a Changes Status
To add or edit a Change Status:
- Navigate to the ‘Customization’ page and double click Changes.
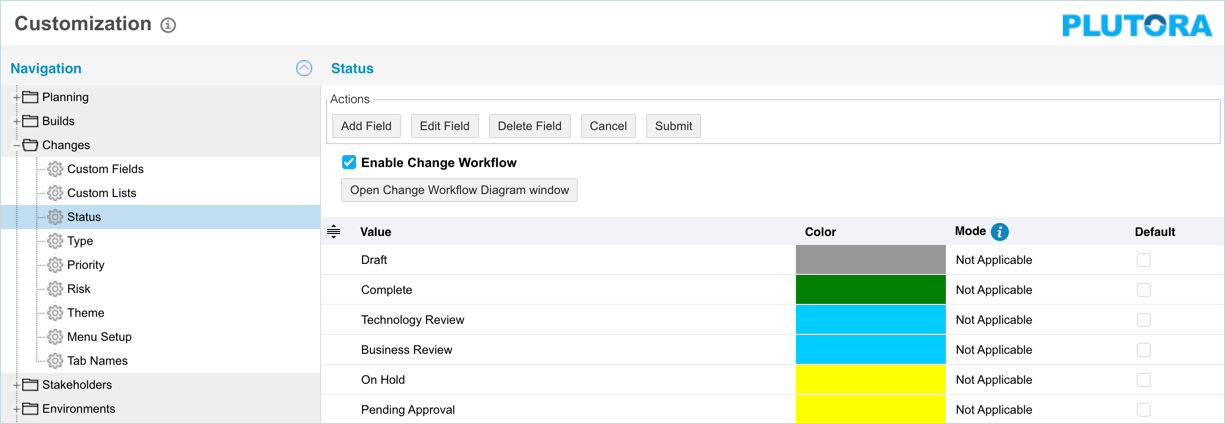
- Click Status.
- Click
 .
. - The system adds a line on the grid for the new field. To edit an existing Status, search and click on the Status from the grid and then click
 .
. - Enter/edit the Status name in the Value column.
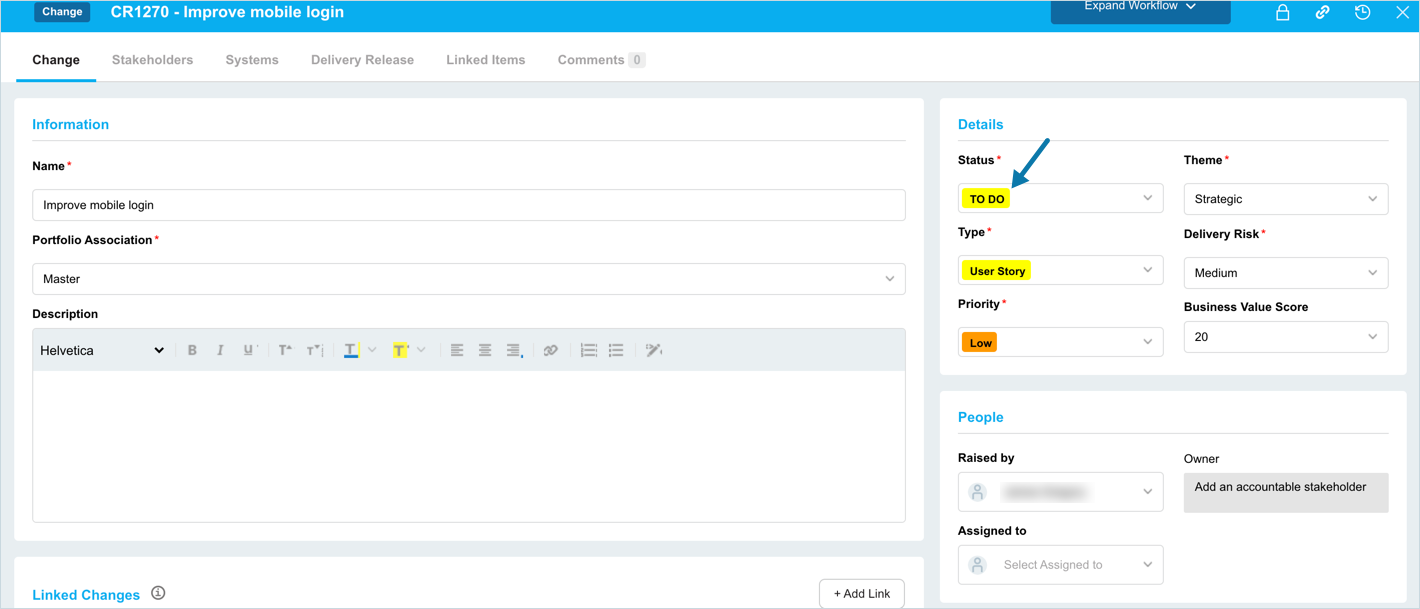
- Double click the Color column and select a color from the drop-down menu or enter a Hex value. This color appears on the ‘Changes Status’ label in the Change dialog (Release > Change).
- Click to select a Mode. For details on the Mode types, see Mode Types
- Select the Default checkbox to make the item appear by default in the drop-down menu.
- Click
 .
.
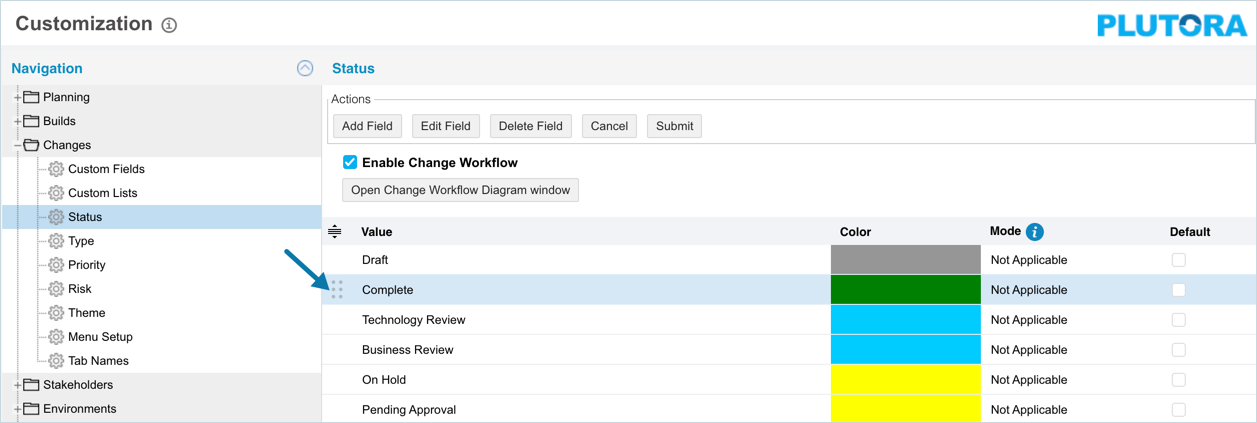
To sort Changes Statuses manually:
- Navigate to the ‘Customization’ page and double click Changes.
- Click Status.
- Hover your mouse cursor over the sort column of the Value that you want to sort.
 appears.
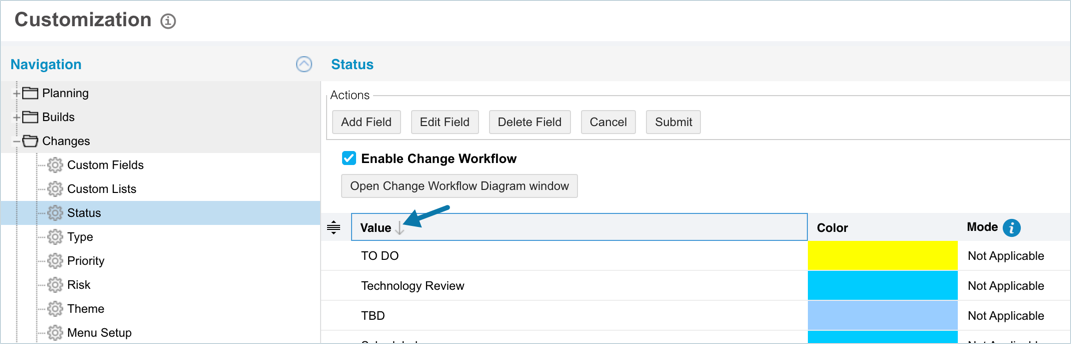
 - Drag and drop the Value as you require.
- Click .
Delete/Replace Changes Status
Deleting a Changes Status will not delete it from Change records. But it will no longer be available when adding or editing a Change.
While deleting, you can either select another status item that will replace the item to be deleted or simply delete the item from the list. Replacing a Changes Status will replace it in existing Change records.
To delete or replace a Changes Status:
- Navigate to the ‘Customization’ page and double click Changes.
- Click Statuses.
- Select the status that you want to delete or replace.
- Click
 .
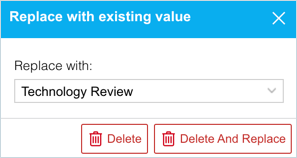
. - The ‘Replace with existing value’ dialog displays.
- To replace: select the item that will replace the item to be deleted from Replace with. Then click
 .
. - To simply delete the item, click
 .
.
- To replace: select the item that will replace the item to be deleted from Replace with. Then click
The item is now deleted and the page navigates back to the Status page.
Enable Workflows
Workflows allow you to:
- Create a sequence of Changes Statuses for each Changes Type, from an initial status to an end status.
- Assign the privilege of setting that status to User Groups and User Roles (Permission Roles).
If workflows are turned off, all Changes Statuses will appear in the Changes Status drop-down menus in Change Manager. If workflows are turned on, only the Changes Statuses set for that Changes Type will appear.
To enable workflows:
- Navigate to the ‘Customization’ page and double click Changes.
- Click Status.
- Select the Enable Change Workflow checkbox.
- Click .