Navigation
You can remove statuses from the workflow by clicking ![]() .
.
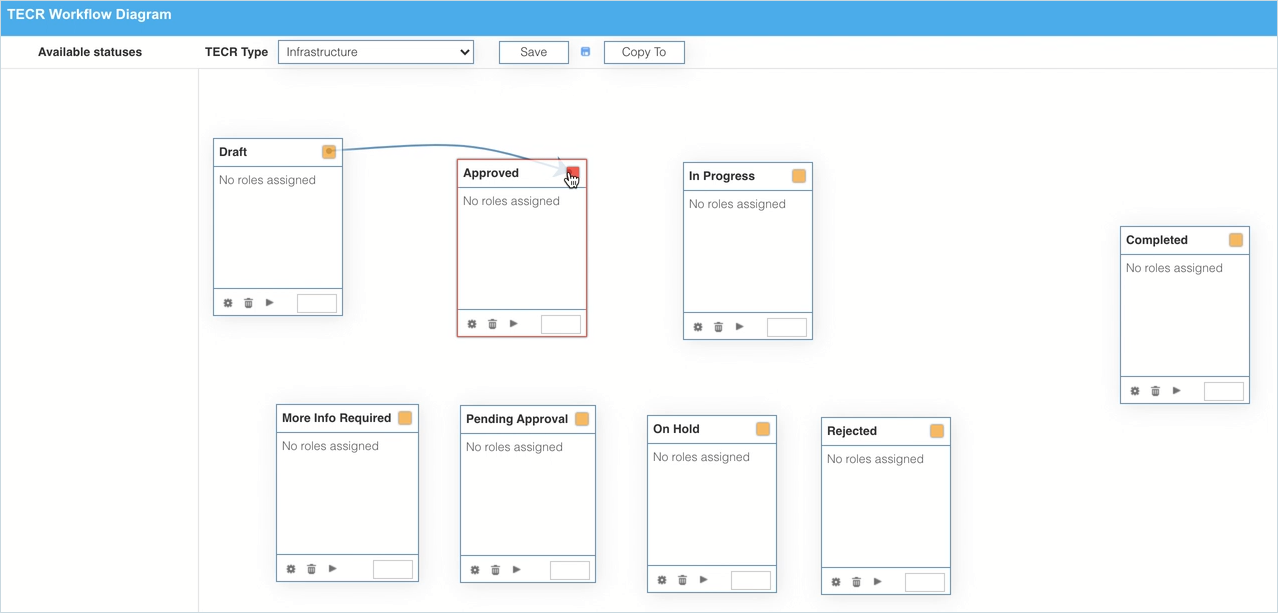
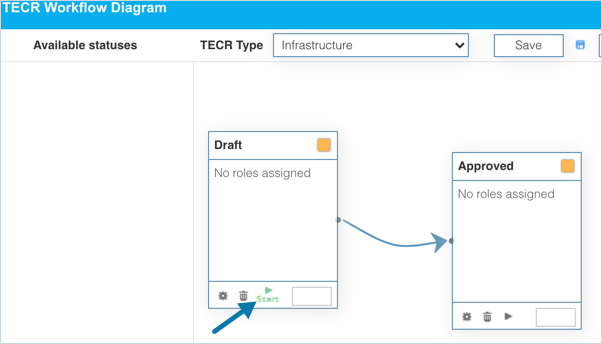
Connect the Statuses
Make connections between status boxes by clicking and dragging ![]() between status boxes.
between status boxes.
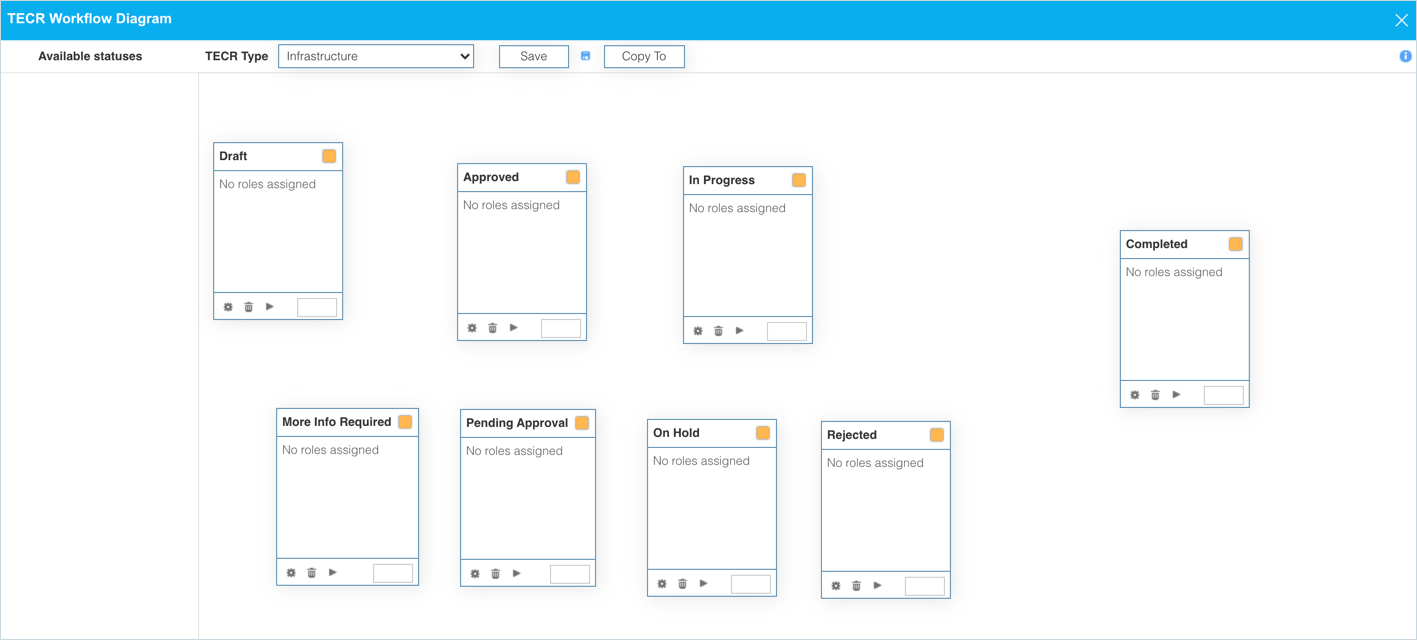
Set ‘Initial Status’
Set Initial Status on one status box by clicking![]() . Setting an initial status is mandatory. The initial status is auto-selected when you select a Type in Change Management.
. Setting an initial status is mandatory. The initial status is auto-selected when you select a Type in Change Management.
The status that you set as initial, displays ‘Start’ underneath.

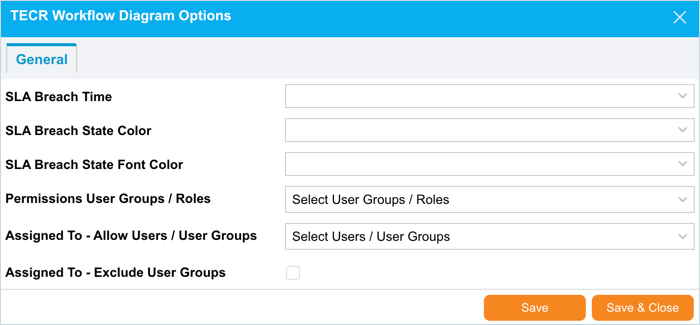
Change Workflow Diagram Options
Click ![]() at the bottom of the status box to open the ‘Change Workflow Diagram Options’ dialog.
at the bottom of the status box to open the ‘Change Workflow Diagram Options’ dialog.
- Select an SLA Breach Time to set how much time users have to move to the next Status before it is in breach.
- Select an SLA Breach State Color from the drop-down menu.
- Select an SLA Breach State Font Color from the drop-down menu.
- Select the Permissions User Groups / Roles that may update the workflow.
- Select the Assigned To – Exclude User Groups checkbox to exclude User Groups from the Assignee field. If you have assigned a User Group in the two fields above, do not select this checkbox.
Click ![]() .
.
Close the dialog. After making the required changes in the workflow click ![]() .
.
Close the workflow diagram pop up by clicking the X in the top right corner. On the Customization page click ![]() . Your changes will be saved and a confirmation message will display.
. Your changes will be saved and a confirmation message will display.
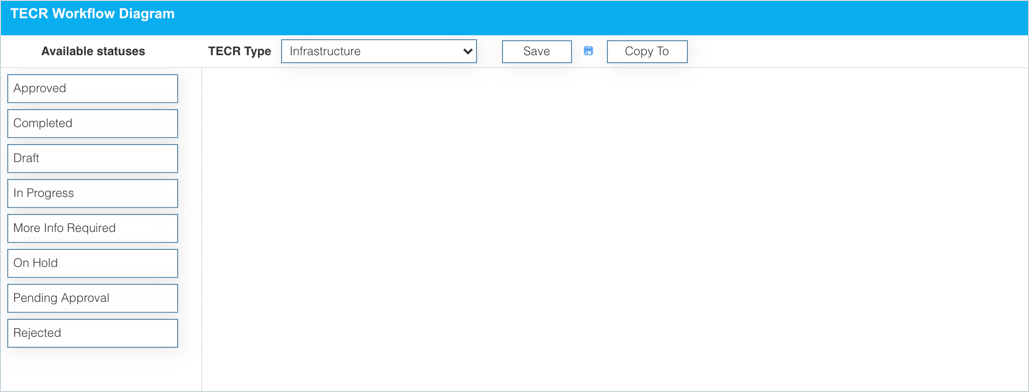
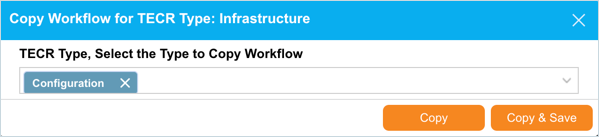
Copy a Workflow
You can save time by copying workflows instead of recreating them from scratch.
To copy a workflow:
- On TECR Workflow Click
 .
. - On ‘Copy Workflow for Change Type…’ dialog select a Changes Type from the Select Change Types drop-down menu.
- Click

More Information
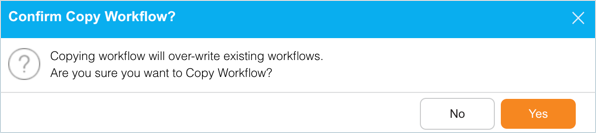
While copying a workflow to another, if you select a TECR Type for which a workflow exists, the following alert message displays. In this case, click ![]() if you want to overwrite the existing workflow with the copied workflow.
if you want to overwrite the existing workflow with the copied workflow.