Add a Sub-system
To add a Sub-system click ![]() . ‘Add New Sub-system’ pop up displays.
. ‘Add New Sub-system’ pop up displays.
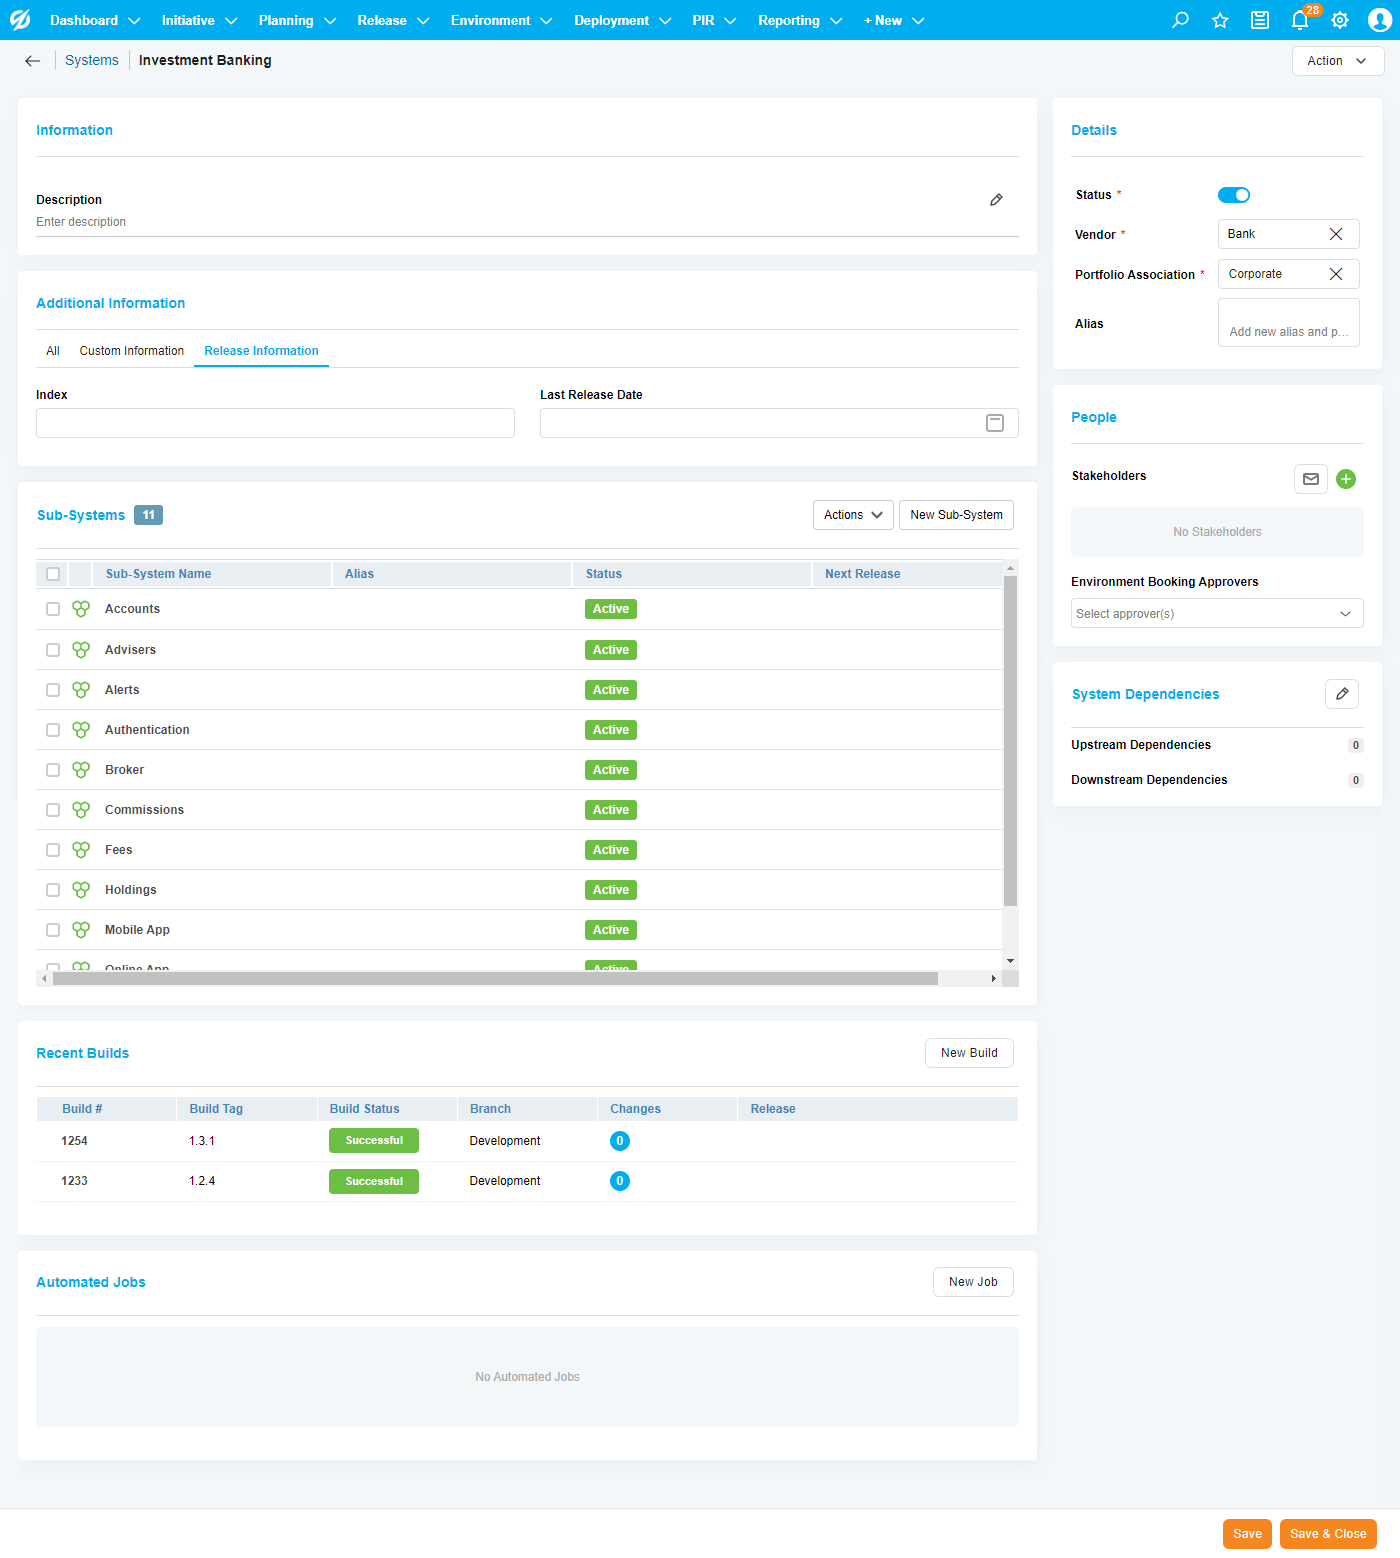
Manage Builds
To add builds to the Sub-system, you must save the record by clicking ![]() . Click
. Click ![]() to add build to the Sub-system. For more details, see Manage Builds.
to add build to the Sub-system. For more details, see Manage Builds.
Automated Jobs
To add automated jobs to the Sub-system, you must save the record by clicking ![]() . Click
. Click ![]() to add a new automated job to the System. For more details, see Orchestration Using Automated Jobs.
to add a new automated job to the System. For more details, see Orchestration Using Automated Jobs.
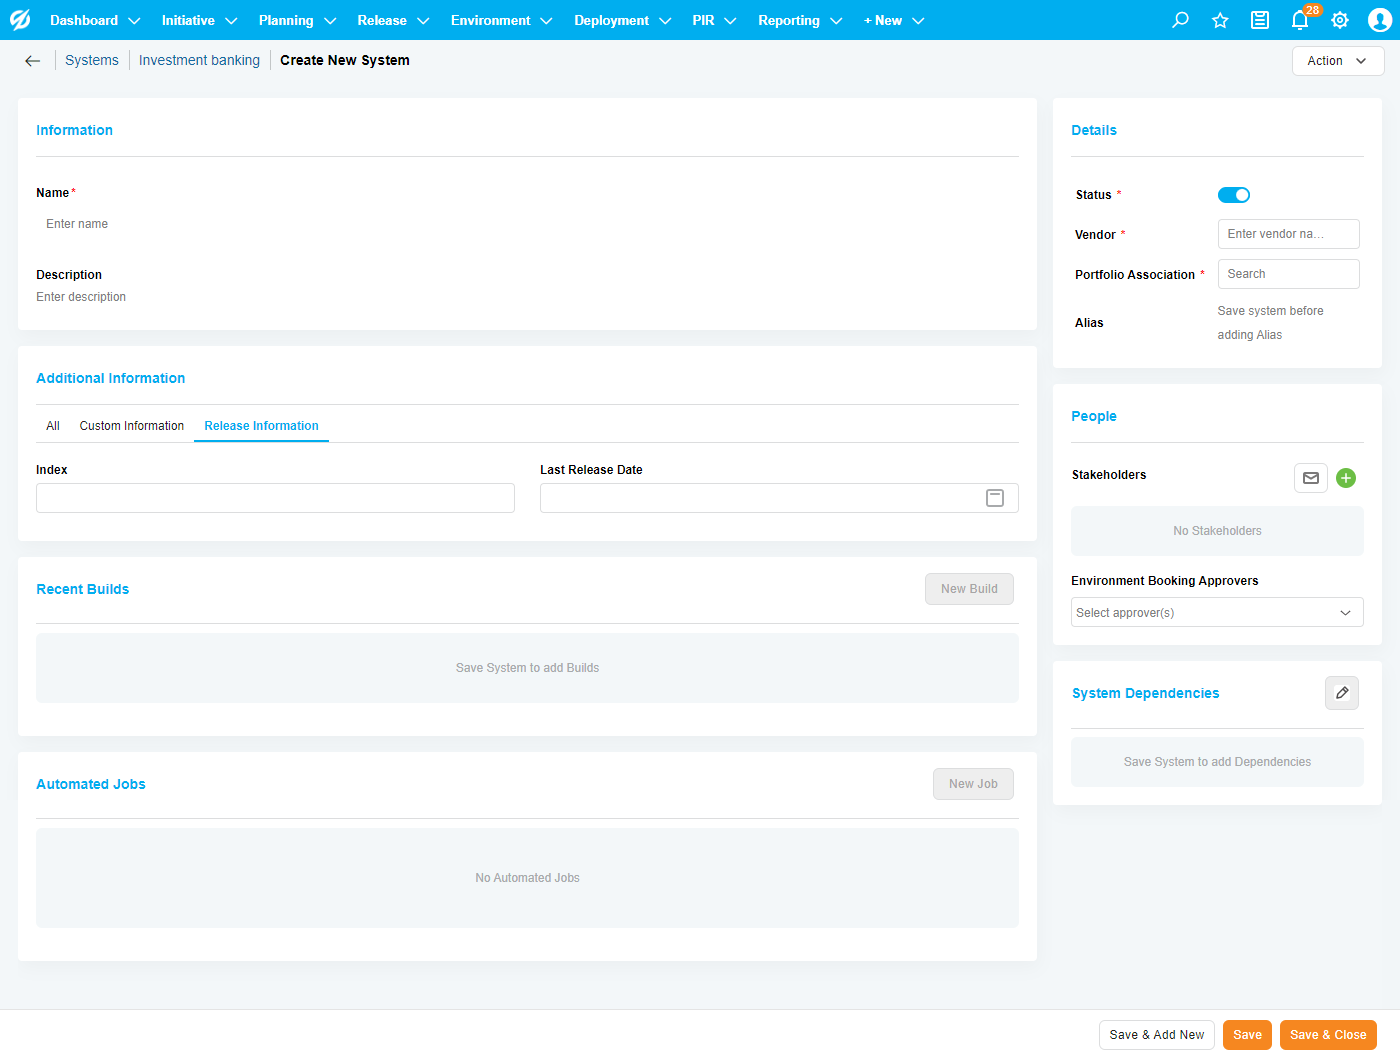
After making all the entries, click ![]() .
.
Click ![]() to save this Sub-system and create another.
to save this Sub-system and create another.
Duplicate Sub-system
To duplicate a Sub-system, scroll to find the Sub-system on the Sub-systems section. Select the Sub-system using the checkbox next to the Sub-system name, Click ![]() and select the option to Duplicate.
and select the option to Duplicate.
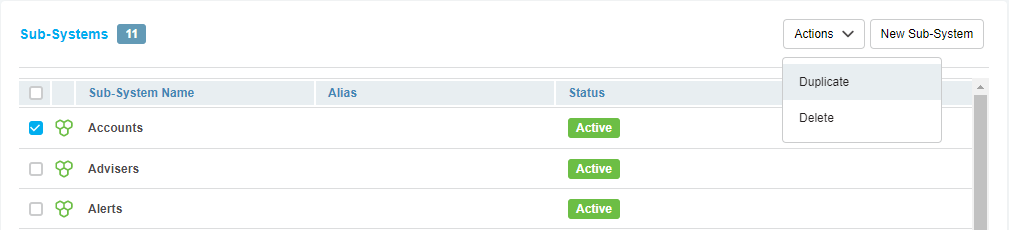
A pop-up displays. Enter a new name for the duplicate System if required then select ![]() .
.
Delete Sub-system
Sub-systems can be deleted from the Sub-systems page. You can also bulk delete Sub-systems from the Sub-systems section on the parent System page.
Delete from Sub-system page
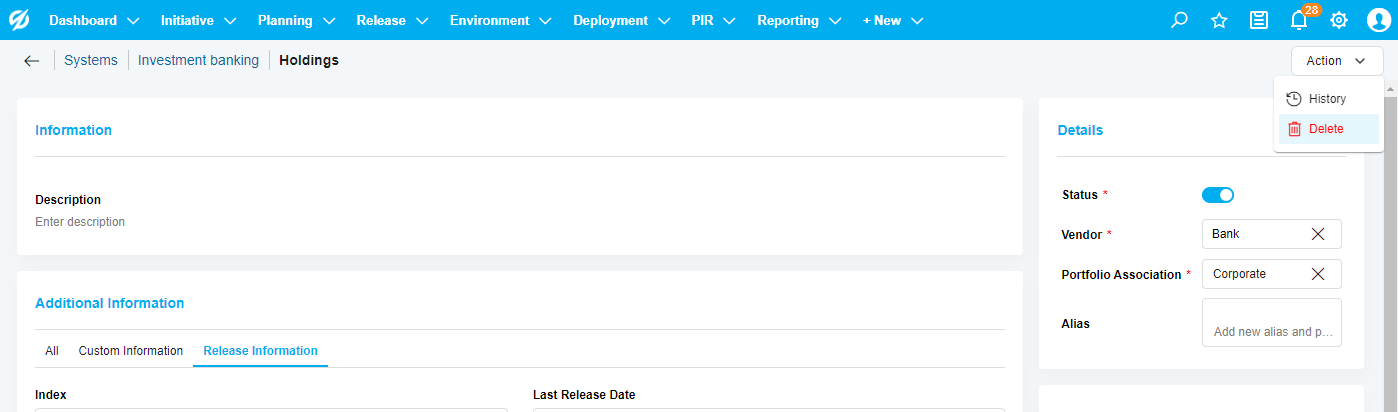
To delete a single Sub-system, open a Sub-system, then select Delete from the ![]() drop-down.
drop-down.
Click ![]() on the prompt.
on the prompt.
Delete Sub-system from Sub-system section
To delete multiple Sub-systems, scroll to find the Sub-systems on the Sub-systems section. Select the Sub-systems using the checkbox next to the Sub-system names, Click ![]() and select the option to Delete.
and select the option to Delete.
Click ![]() on the prompt.
on the prompt.
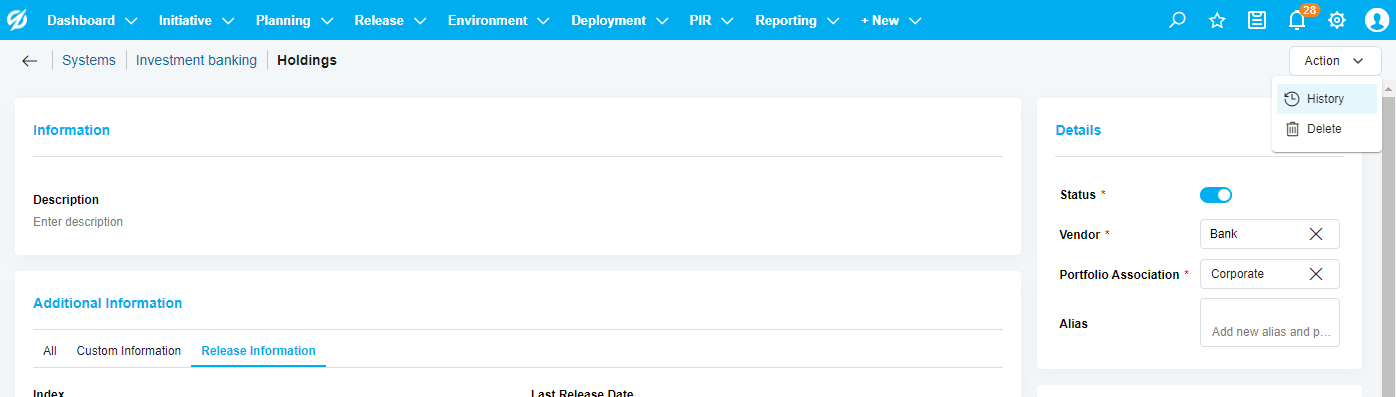
View Audit History
To view Audit History, open a System, then select History from the ![]() drop-down.
drop-down.