Navigation
Add/Edit a System Subtype
To add/edit a custom System Subtype:
- Navigate to the ‘Customization’ page and click Environments.
- Click System Subtype Customization.
- Click
 . The system adds a line on the grid for the new field. To edit an existing System Subtype, search and click on the item from the grid and then click
  (You cannot edit the default Subtypes).
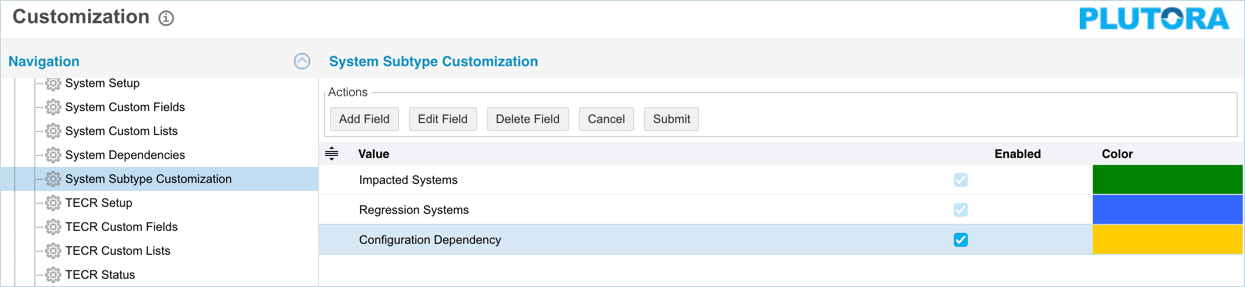
 - Enter/update the System Custom List item in the Value field.
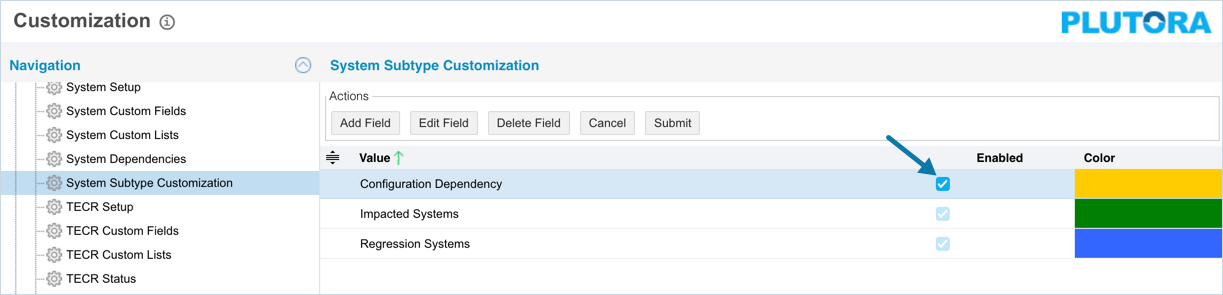
- Select Enabled checkbox to enable the System Subtype.
- Double click the Color column and select a color from the drop-down menu or enter a Hex value.
- Click
 .
.
Sort System Subtypes
Sort Manually
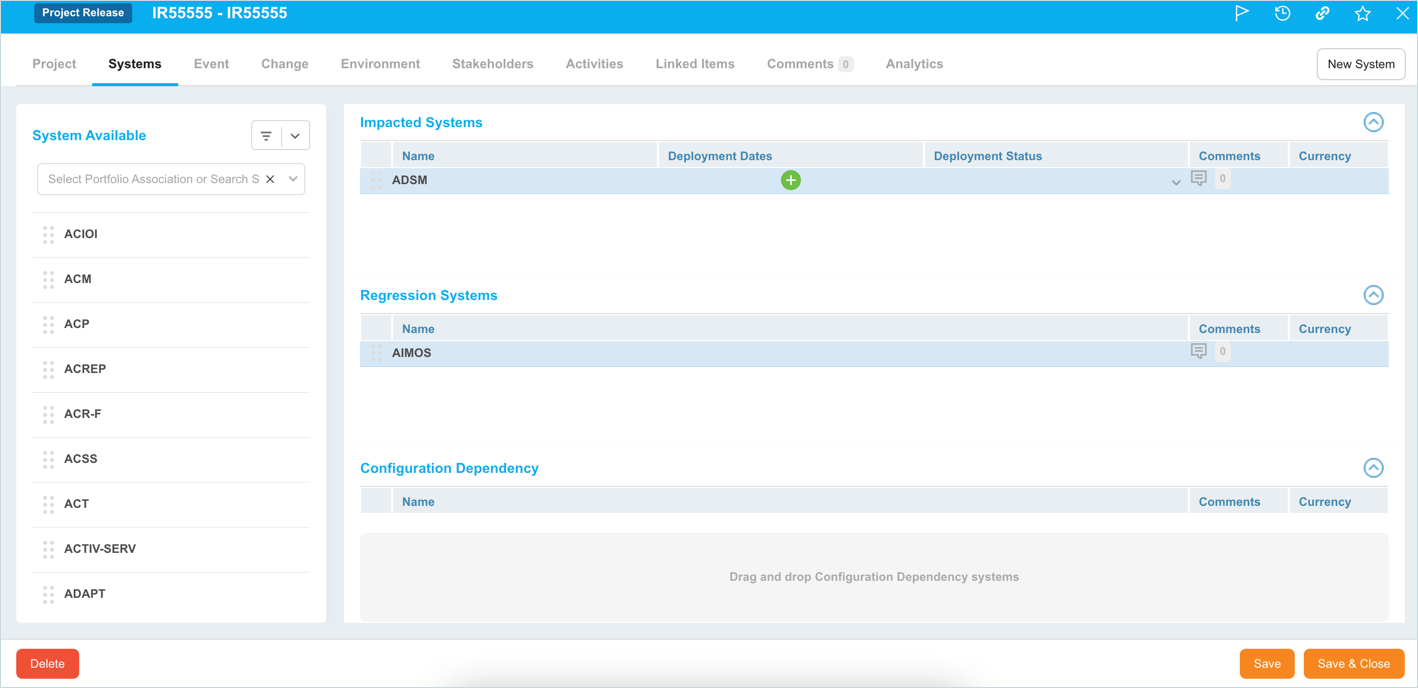
Sorting ‘System Subtypes’ manually changes their order in the:
- ‘Systems’ tab when adding or editing Enterprise, Project, or Independent Releases.
- System Impact Matrix.
To sort manually:
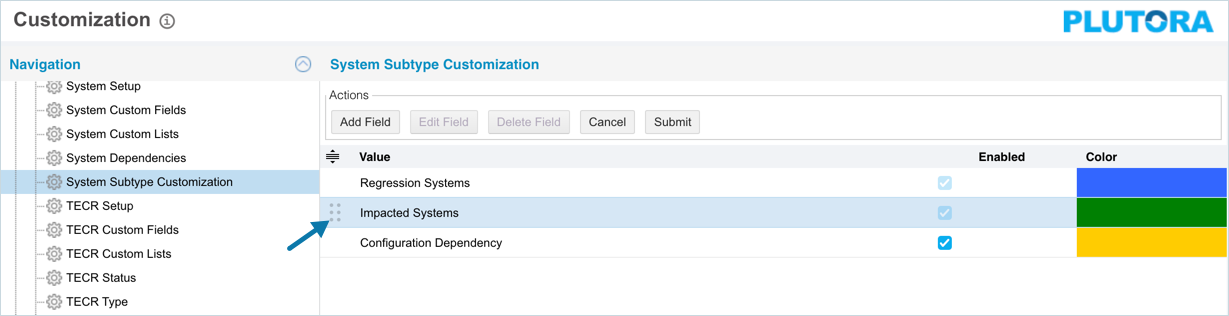
- On the ‘Customization’ page, navigate to Environments > System Subtype Customization.
- Hover your mouse cursor over the sort column of the Value that you want to sort.
 appears.
 - Drag and drop the value as you require.
- Click .

Delete a System Subtype Customization
Deleting a System Subtype Customization will disassociate all its Systems from the Releases and TEBRs they have been associated with. Disassociated Systems will be available when adding or editing new, and existing Releases, and TEBRs.
You can not delete the default Subtypes – Impacted Systems and Regression Systems.
To delete a custom System Subtype Customization,
- On the ‘Customization’ page select the Subtype that you want to delete.
- Click
 .
. - Click .

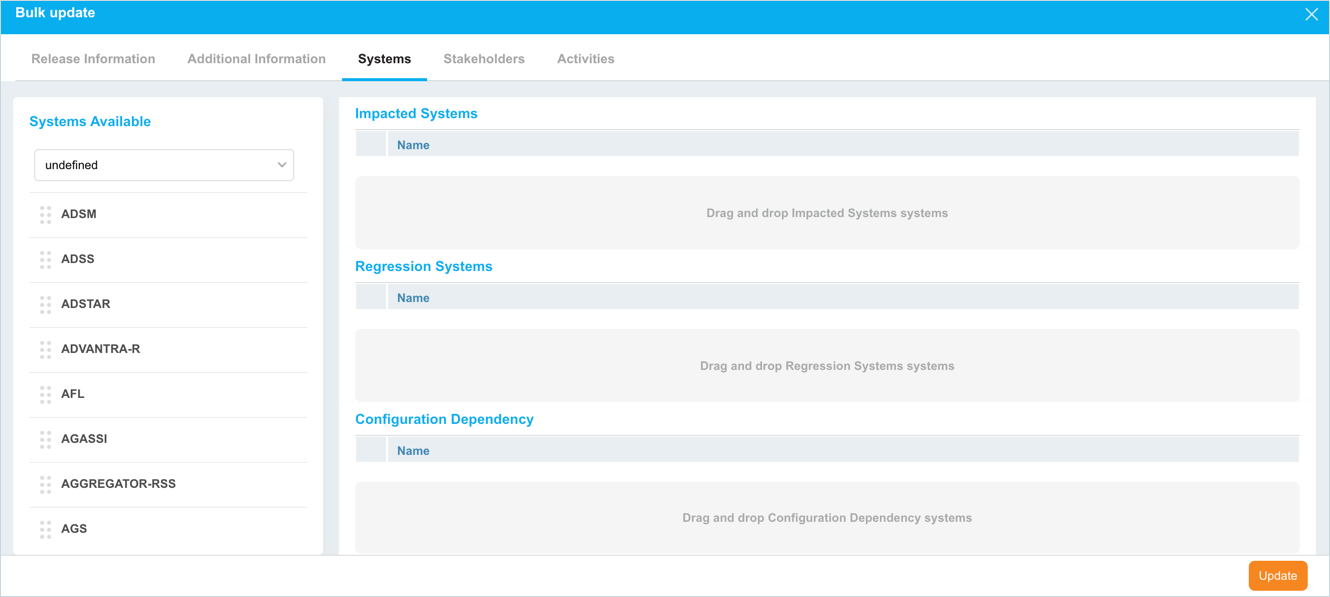
- Bulk Update Releases
Navigate to Release > Manager, select the checkboxes of two or more Releases, click ![]() , and select Bulk Update. Then click the Systems tab.
, and select Bulk Update. Then click the Systems tab.
Systems Subtypes appear under the Systems tab of the Bulk Update pop up for Enterprise, Project and Independent Releases.

Enabling or Disabling System Subtype
Once you have added custom System Subtypes, you can enable or disable them. You can enable or disable each custom System Subtype separately. The ‘Impacted Systems’ and ”Regression Systems’ subtypes are available by default and always enabled.
Before the custom System subtypes can appear under the ‘Systems’ tab of the View/Edit Enterprise, Project and Independent Releases pop ups, or in the System Impact Matrix, it must be enabled.
To enable or disable System Subtype Customization:
- On to the ‘System Subtype Customization’ page, select to enable, or deselect to disable the custom Systems Subtype checkboxes.
- Click .