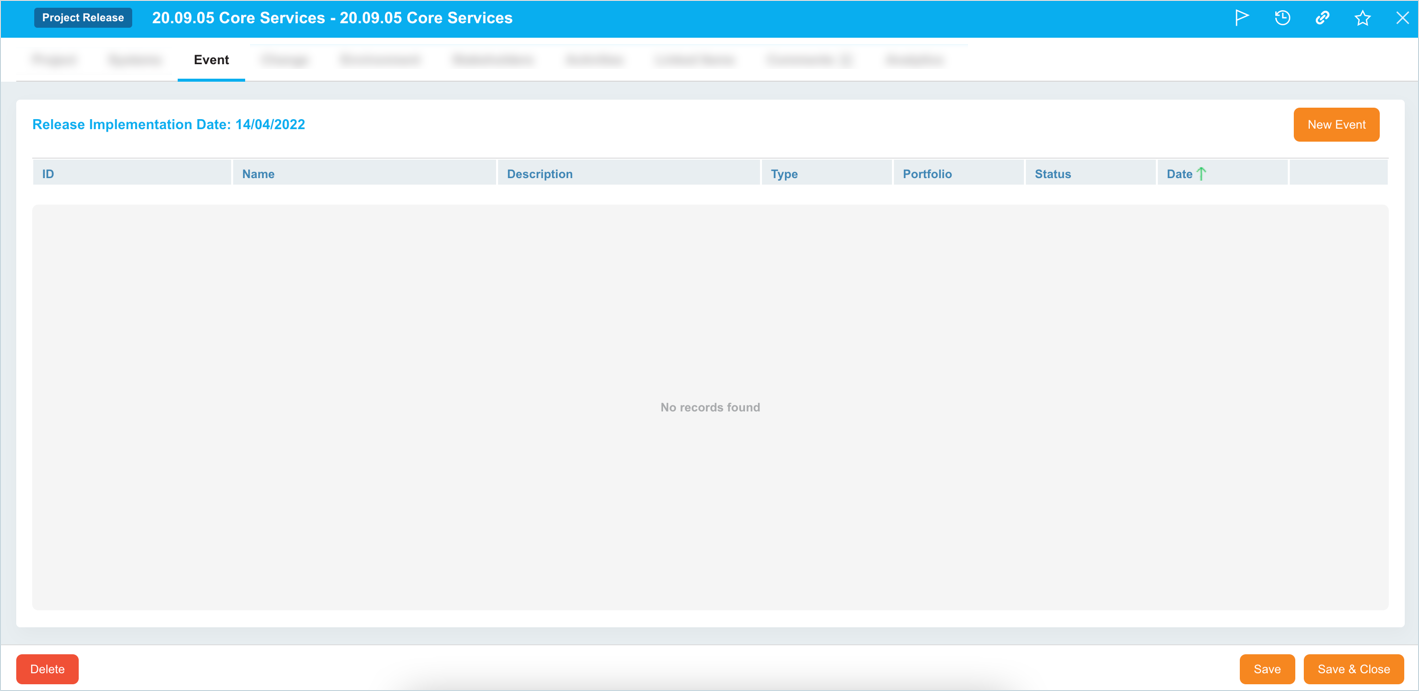
Add an Event
To add an Event, on the Event tab, click ![]() and fill in the following details:
and fill in the following details:
| Fields | Description |
|---|---|
| ID/Name/Description | Enter a unique ID, name, and description for the Event. |
| Type | Select a type from the drop-down. To customize these types, see Release Event Type |
| Portfolio | Select a portfolio from the drop-down. To customize these portfolio, see Release Event Portfolio |
| Status | Select a status from the drop-down. To customize, see Release Event Status |
| Date | Select the event date from the drop-down. The Release’s Implementation Date appears as the default date but it can be changed. |
Click ![]() then click
then click ![]() .
.
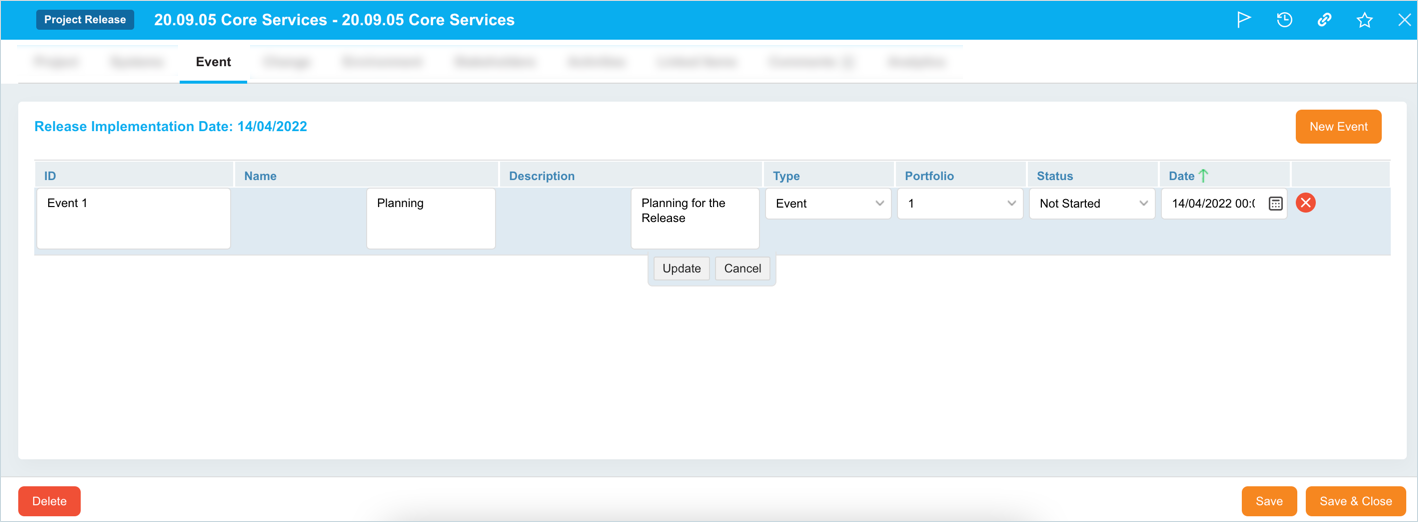
Edit Event
To edit an event, double click the Event and update the fields. Then click ![]() and
and ![]() .
.
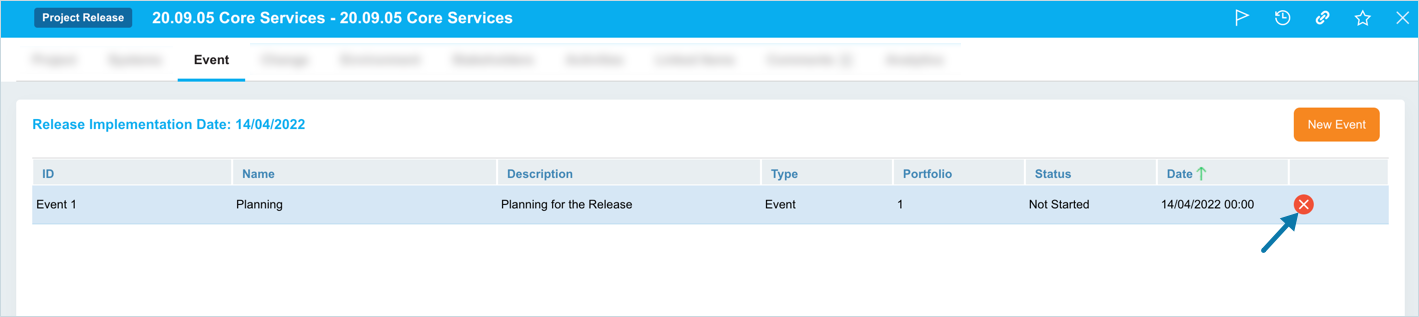
Delete Event
To delete an Event, click ![]() next to the Event.
next to the Event.
More Information
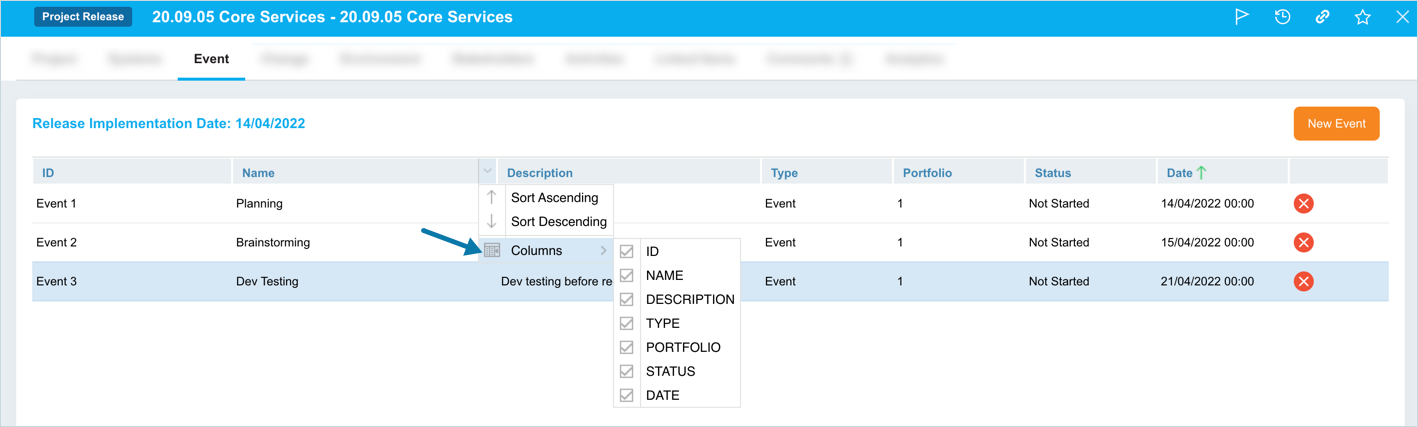
Add/Remove Columns
Hover your mouse cursor over a column header to display ![]() . Click Columns and then select or deselect column checkboxes to toggle column visibility.
. Click Columns and then select or deselect column checkboxes to toggle column visibility.