
Filter by Associated Release
Click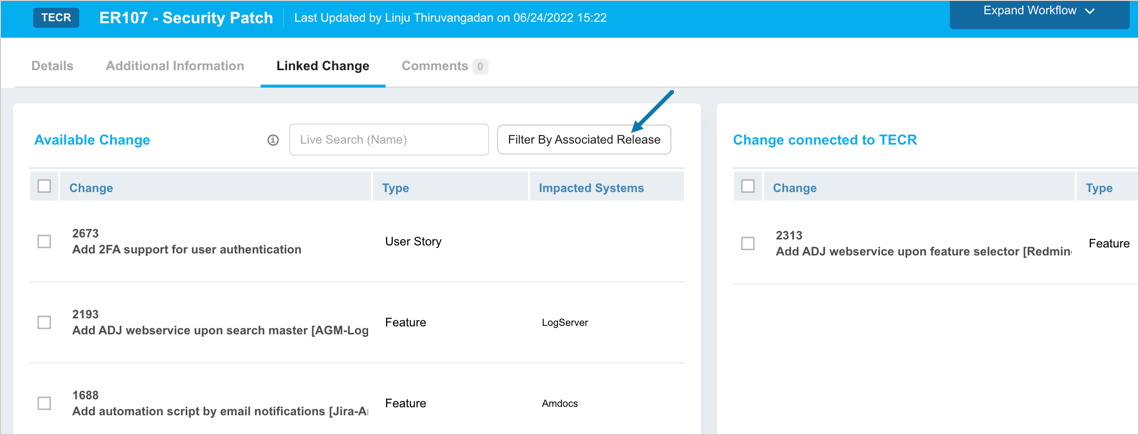
Note
 option will be disabled if:
- there is no Release linked to the TECR. See Details tab.
- the linked Release is an Enterprise Release. To enable this option, ensure that you have linked Project/Independent Release to the TECR.
To remove this filter, click ![]() .
.
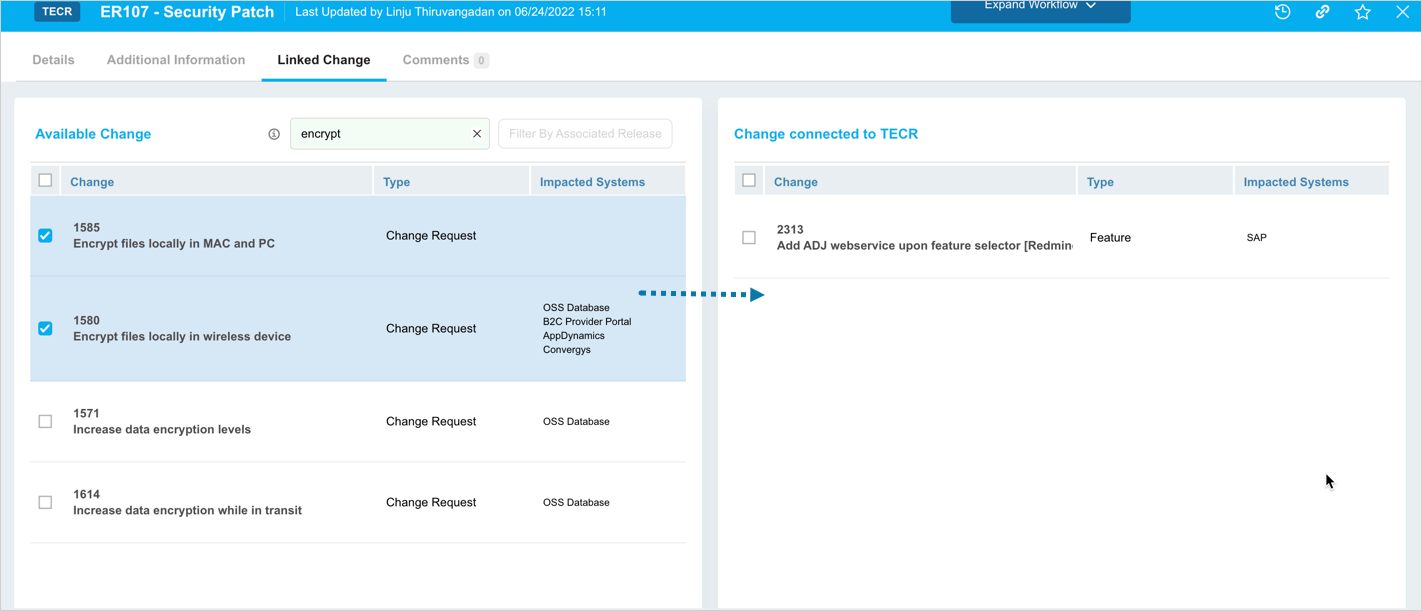
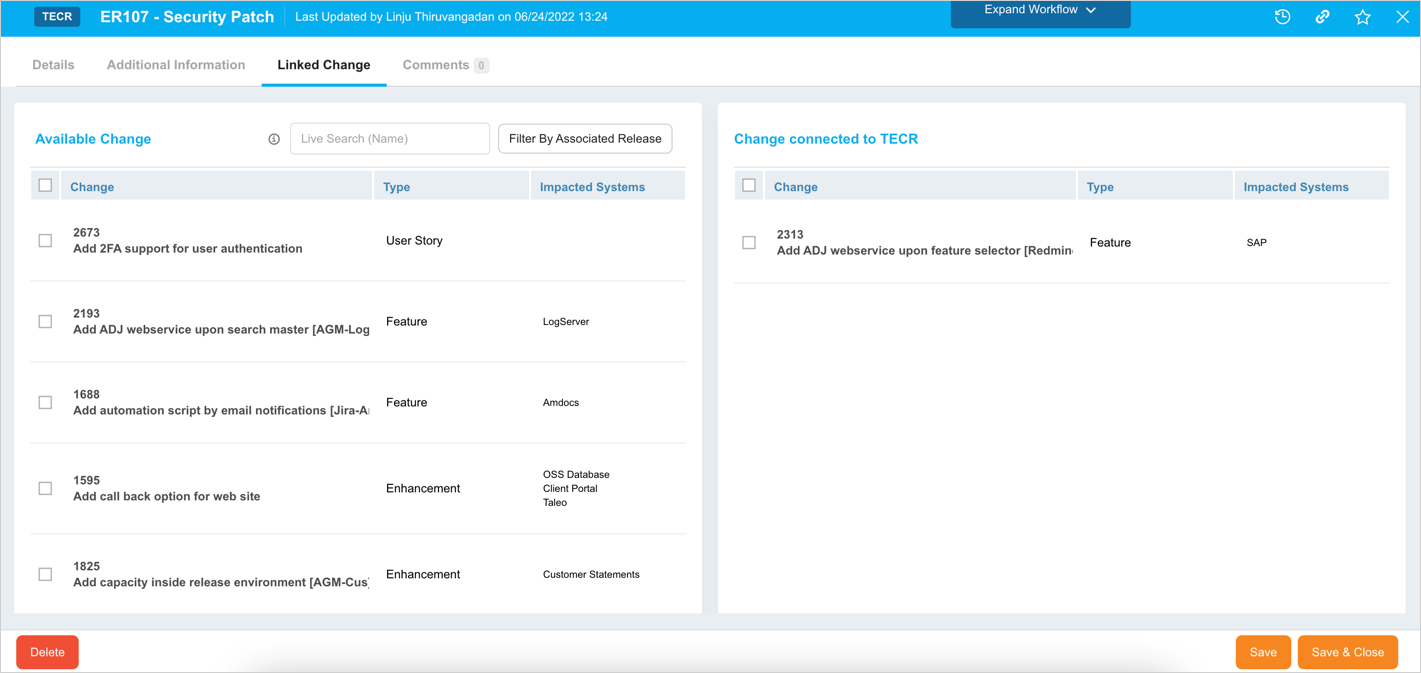
To unlink, drag and drop it from the Change connected to TECR section into the Available Change section.
After making the required updates, click ![]() .
.