
Two-factor authentication makes logging into Plutora more secure by adding an extra layer of security to confirm your identity.
Two-factor authentication does not apply for SSO users as authentication is handled by the third-party authentication service.
How Does Two-Factor Authentication Work?
When two-factor authentication is enabled, users are required to log in using their user name and password, plus one of the following:
- A random 6-digit code generated by the Google Authenticator app on your smartphone.
- A one-time 6-digit code sent to an email address that you do not use to log into Plutora.
- Answers to security questions.
For Administrators
Managing Two-Factor Authentication
Enable Two-Factor Authentication
To enable two-factor authentication:
- Go to Settings
 > Customization > Site Settings.
 - Click Login Settings.
- Click to select the Enable Two-Factor Authentication checkbox:
- The Enable reCAPTCHA Prompt checkbox will automatically be selected.
- reCAPTCHA increases security by establishing that the user is a human and not a bot.
- Click to select the Enable Remember me for 30 days checkbox:
- This means users will not need to complete two-factor authentication when logging into Plutora on their current device for the next 30 days.
- Their device will be listed as a Trusted Device.
- Devices are laptops, desktop computers, and so on.
- Users will still need to enter their username and password if they log out and back in on their device.
- After 30 days, users will need to complete two-factor authentication again if they log into Plutora on that same device.
- Click Submit.
The yellow Your changes have been saved pop up opens and closes.
If you click away from the Customization page without clicking Submit, your changes will not save.
Disable Two-Factor Authentication
To disable two-factor authentication:
- Go to Settings> Customization > Site Settings.
- Click Login Settings.
- Click to deselect the Enable Two-Factor Authentication checkbox.
- Click OK to confirm.
If the Enable Two-Factor Authentication checkbox is deselected, Submit must be clicked to commit the changes. - Click Submit.
The yellow Your changes have been saved pop up opens and closes.
If you click away from the Customization page without clicking Submit, your changes will not save.
If reCAPTCHA was disabled before disabling two-factor authentication, it will be enabled again.
Disable Remember Me For 30 Days
To disable the Remember me for 30 days checkbox:
- Go to Settings> Customization > Site Settings.
- Click Login Settings.
- Click to deselect the Remember me for 30 days checkbox.
- Click OK to confirm.
If the Remember me for 30 days checkbox is deselected, Submit must be clicked to commit the changes. - Click Submit.
The yellow Your changes have been saved pop up opens and closes.
If you click away from the Customization page without clicking Submit, your changes will not save.
Force a User to Set Up Two-Factor Authentication Again
A user should be forced to set up their two-factor authentication again if they have:
- Reason to believe that their account might have been compromised.
- Lost their phone.
- Forgotten their security questions and backup email address.
To force a user to set up two-factor authentication again:
- Go to Settings > User Management.
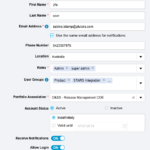
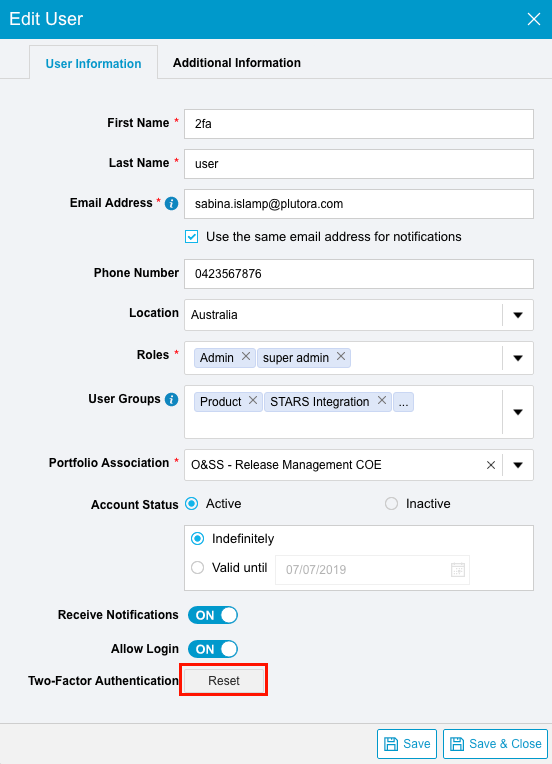
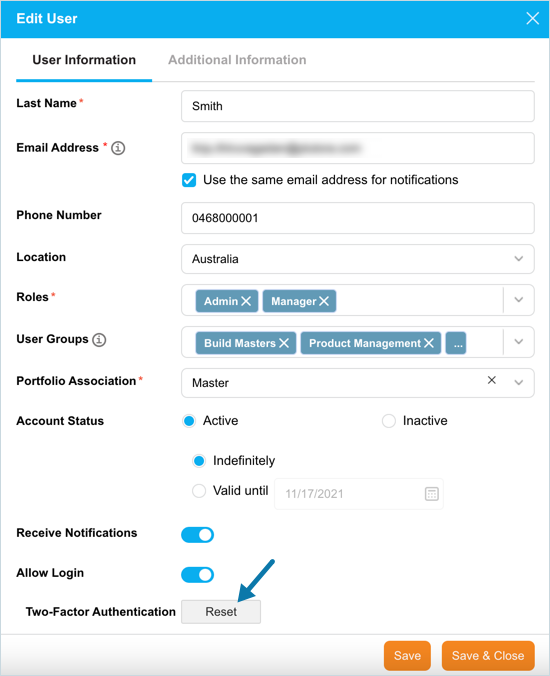
- Find the user and click Edit.
- Click Reset.

- Click Yes to confirm.
For Users
Set Up Two-Factor Authentication
Once enabled by an administrator, two-factor authentication must be set up by each user the next time they log into Plutora.
To set up two-factor authentication:
- Log into Plutora:
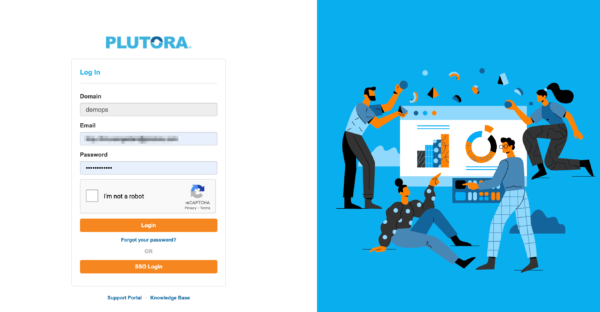
- Type your Email (username) and Password.
- Click to select the reCAPTCHA checkbox, if enabled.
- Click Login.
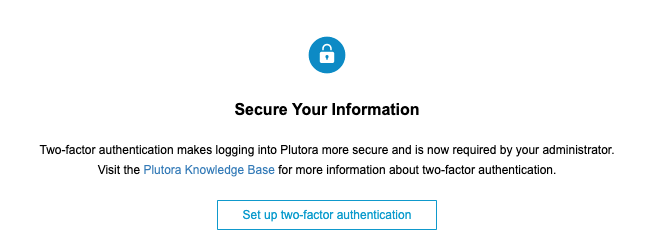
The Secure Your Information page opens.
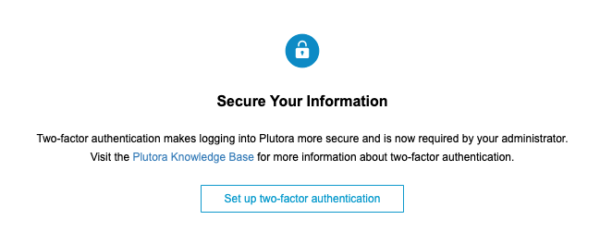
- Click Set up two-factor authentication.
All three authentication methods must be set up. But only one is required during logging in.
The Set Up Authenticator App page opens.
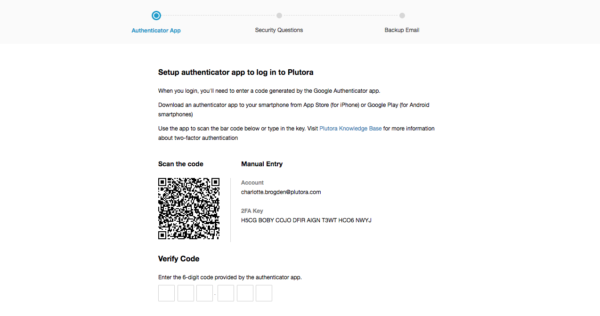
- Download an authenticator app to your smartphone from App Store (for iPhones) or Google Play (for Android smartphones).

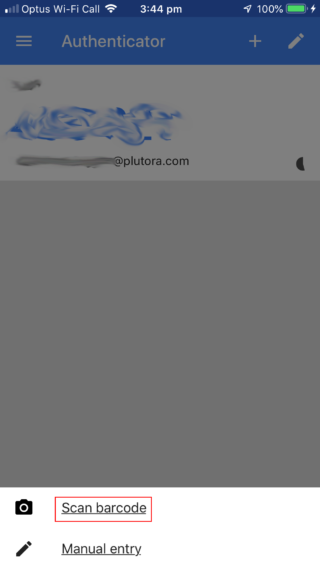
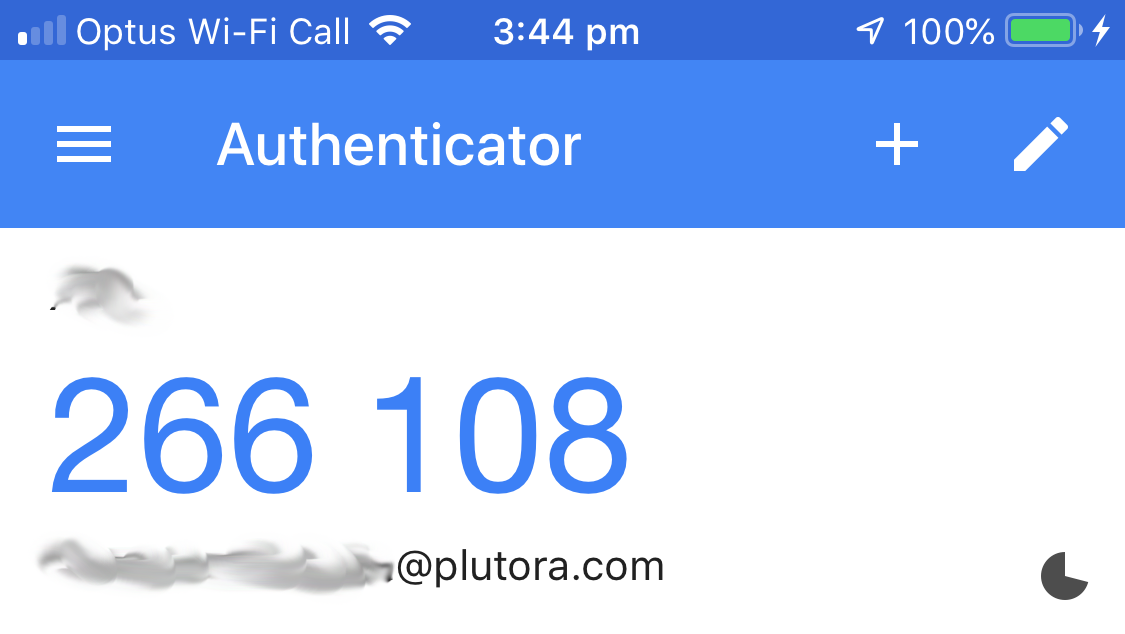
The following instructions are for Google Authenticator app. - Open Google Authenticator app.
- Start a new authentication session by tapping the +.

- Tap Scan barcode.
- Center the code under Scan the Code inside the green square.
A new session will appear in the app.

- Type the six digits into Verify Code:
- Each set of six digits times out after 30 seconds.
- The digits turn red before they time out.
- If the digits are red, wait until the next ones appear before typing them.
- Click Next (on the bottom right of the page).
The Security Questions page opens.
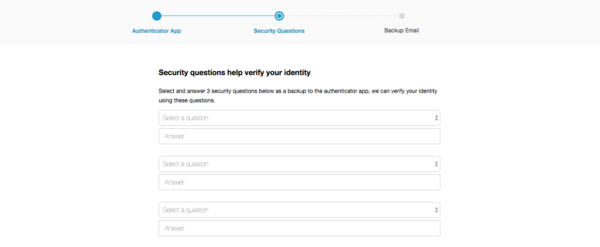
- Select three questions from the drop-down menus and type your answer.
- Click Next (on the bottom right of the page).
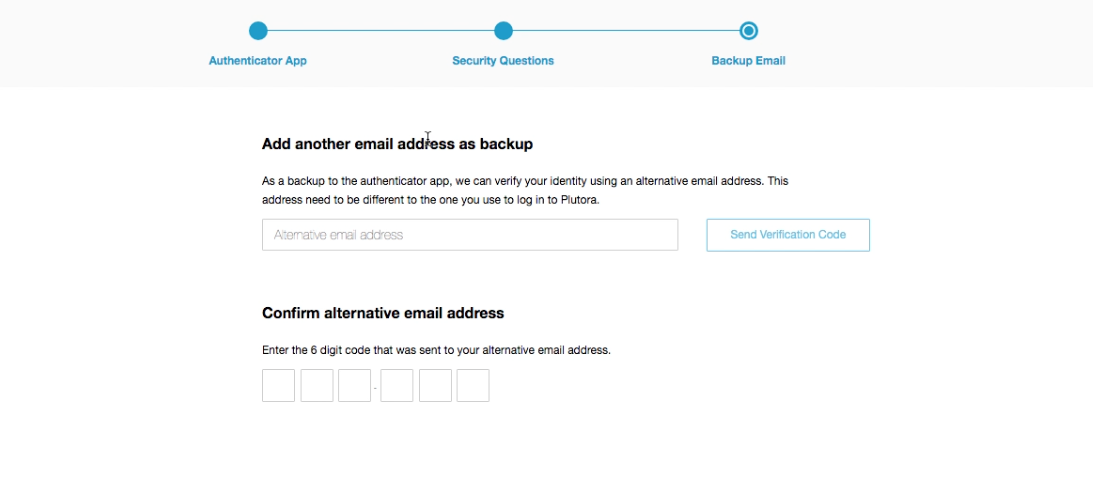
The Backup email page opens.

- Type an alternative email address.
The email must be different to the one you use to log into Plutora. - Click Send Verification Code.
- Type the six-digit code that was emailed to you.
- Click Next (on the bottom right of the page).
The You’re All Set page opens.
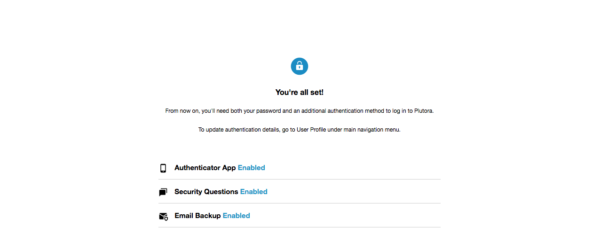
- Click Finish (on the bottom right of the page):
- The next time you log into Plutora, you will need your username and password, plus one of the three two-factor authentication methods.
- You will also have the option to select Remember me for 30 days (if administrators have enabled it) which will allow you to log into Plutora on your current device (usually a laptop or desktop computer) without completing two-factor authentication for the next 30 days.
- If Remember me for 30 days is selected, your device will become a Trusted Device.


Manage Two-Factor Authentication
To manage two-factor authentication once it has been set up, including managing your security questions or other areas of two-factor authentication:
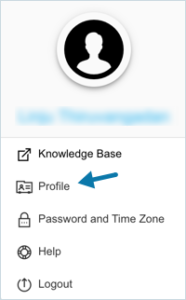
- Click your user avatar in the blue navigation menu.

- Click Profile.
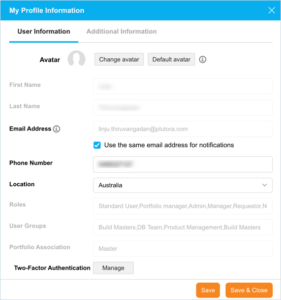
- Click Manage.
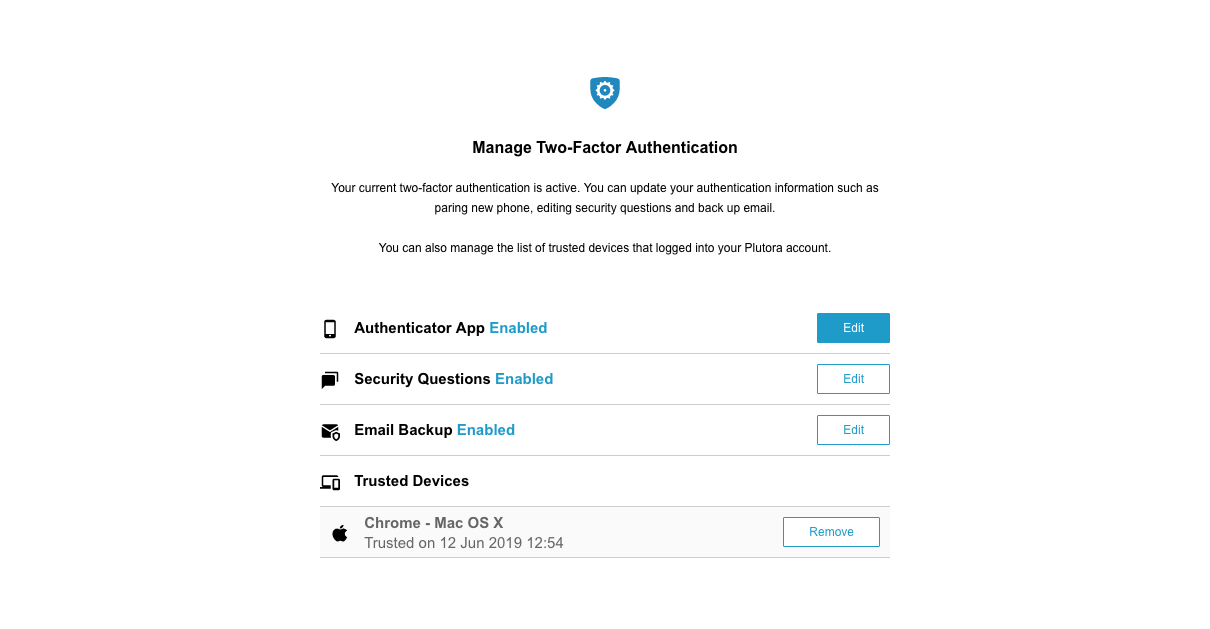
- Click Edit to edit:

- Authenticator App: Set up a new session in an authenticator app if you have lost access to the previous one. For example, if you have lost your phone.
- Security Questions: Edit and set new security questions.
- Email Backup: Provide a new backup email address.
- Trusted Devices: A device (for example, a laptop or desktop computer) that you have used to sign into Plutora using two-factor authentication and selected the Remember me for 30 days checkbox.
- Why would I want to manage my Trusted Devices?:
- If you:
- Accidentally marked a device as trusted.
- No longer have the device.
- Are no longer the sole user of that device.
- Do not recognize the device.
- If you:
- To remove Trusted Devices:
- Click Remove.
- Click Yes to confirm.
- Why would I want to manage my Trusted Devices?:
- Click Finish (on the bottom right of the page).


![]()