
Selenium integration allows Plutora Test to run automated tests of scripts in any language through AutoHub, which executes test files, listens for the responses, and puts those responses and text log files into Plutora Test.
Once you have the Plutora Test Selenium integration set up, you can start adding and editing Automated Test Cases And Test Steps to be used with the Selenium integration. Then you can execute Automated Test Cases.
To set up Plutora Test Selenium Integration:
1. Download AutoHub.exe
AutoHub.exe needs to be downloaded and installed on the local or remote machine where testing will take place.
To download AutoHub.exe:
- Click Settings.

- Click the Integrations tab.
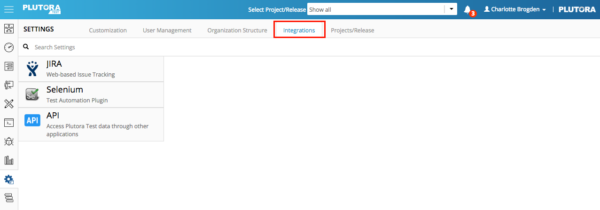
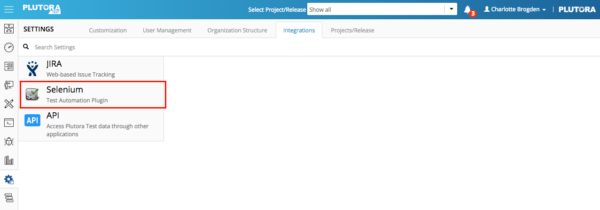
- Click Selenium.
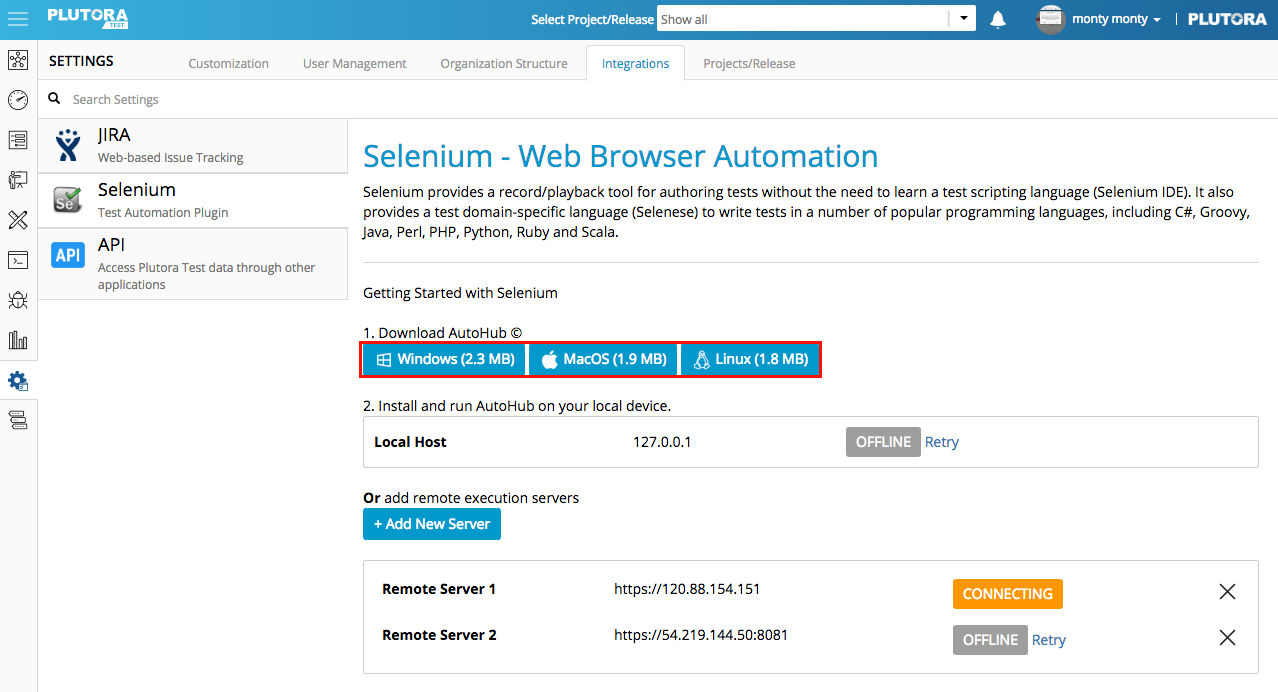
- Click the download button for your platform and save the AutoHub file to your hard drive.

- Locate the file on your hard drive and double-click it, then:
- Windows: Follow the prompts on Windows Installer.
- The AutoHub icon will appear on your Desktop.

- The AutoHub icon will appear on your Desktop.
- Mac: Double-click to open the AutoHub.dmg file, then drag the AutoHub folder onto your Desktop. (Or any other location, but the following instructions assume that the folder has been dragged to your Desktop.)
- Windows: Follow the prompts on Windows Installer.


2. Installation
Mac Installation
a. Install Homebrew
Homebrew is a Mac OS package manager used for installations.
To install Homebrew:
- Run the following command in Terminal:
/usr/bin/ruby -e "$(curl -fsSL https://raw.githubusercontent.com/Homebrew/install/master/install)" - Press the Return key on your keyboard to confirm the installation.
- Type your Mac admin password.
- Press Return.
b. Install an SSL Certificate
There are many ways to install an SSL Certificate and you may already have one. If so, please skip this step.
To install a free SSL certificate:
- Run the following command in Terminal:
brew install openssl

cd Desktop

openssl req -newkey rsa:2048 -nodes -keyout key.pem -x509 -days 365 -out certificate.pem - OpenSSL will ask for your Country Name and other personal information. Press the Enter key to get past the prompts without adding information.
c. Install AutoHub
To install AutoHub on the Mac:
- Install Nginx and Mono:
- Download Nginx and Mono:
- Run the following commands in Terminal:
brew install nginx

brew install mono
- Run the following commands in Terminal:
- Edit Nginx’s configuration file:
- Run the following command in Terminal:
sudo nano /usr/local/etc/nginx/nginx.conf - Type your Mac admin password.
- Press Return on your keyboard.
- Make the following edits (replacing [username] with the user name in the folder):
Sample nginx config file.
listen 443 ssl;

ssl_certificate /Users/[username]/Desktop/certificate.pem;

ssl_certificate_key /Users/[username]/Desktop/key.pem;
location / {

proxy_pass http://localhost:8081;

proxy_http_version 1.1;

proxy_set_header Upgrade $http_upgrade;

proxy_set_header Connection 'upgrade';

proxy_set_header Host $host;

proxy_cache_bypass $http_upgrade;

} - Note that proxy_pass http://localhost:8081 depends on what has been put into AutoHub’s configuration file.
- Run the following command in Terminal:
sudo nginx
- Run the following command in Terminal:
- Download Nginx and Mono:
- Open AutoHub.exe:
AutoHub’s text is designed for a black background. If you are having trouble seeing the text, open a new Terminal window with the Pro theme: Terminal > Shell > New Window > Pro.- Run the following commands in Terminal:
cd AutoHub

./AutoHub-Linux.command
- AutoHub will create a configuration file if it is run for the first time or if the configuration file has been deleted:
- Type the Server URL: http://*
- Type the Port number: 8081
- Type the number of parallel test runs: 2. (These are the number of test runs that will be performed simultaneously. If more than two test runs are started, they will be queued.)
- Type the root directory, where the test files will be held. For example, /users/[username]/Desktop/ but replace [username] with the actual folder name.
- Type the File Extension of the files to be tested. For example, js.
- Type the File Name Filter for the files. For example, .conf.
- Type the File command for the files. For example, wdio.
- Type the File Arguments. (These are added to the file arguments in the Test Case.)
- Add another file extension by typing Y. Type N if you only want to add a single file extension.
- The server will report that it is running.
- Run the following commands in Terminal:
d. Security Certificate Not Trusted
The SSL Certificate created above will not automatically be trusted. To make your computer trust it:
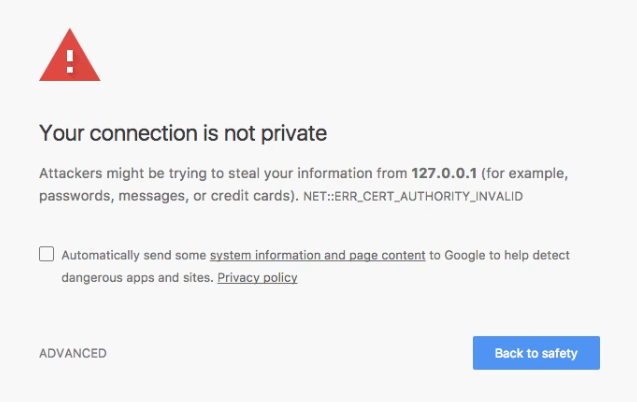
- Open the following link in Google Chrome browser:
https://127.0.0.1
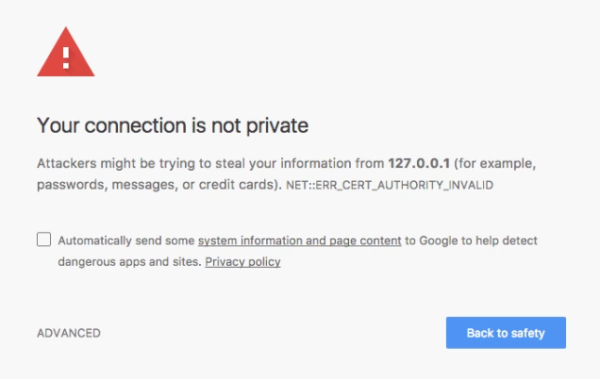
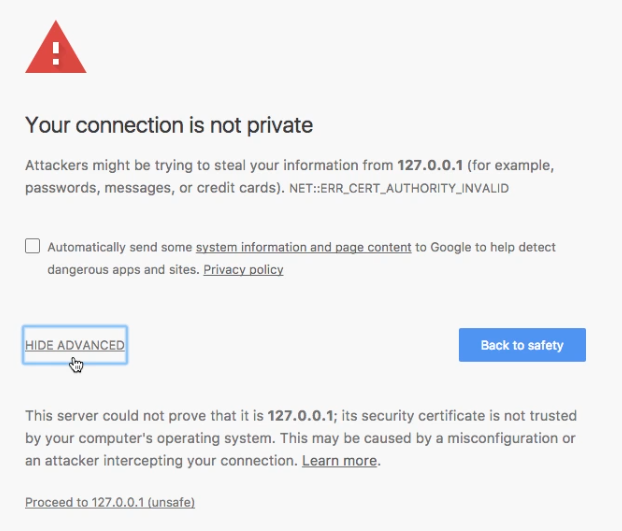
- Click ADVANCED.

- Click Proceed to 127.0.0.1 (unsafe).

- Chrome will report an error but the certificate will now be trusted.

Windows Installation
a. Create a Self-Signed Security (SSL) Certificate for Windows
To create an SSL Certificate for Windows:
- Follow the instructions in one of the following links:
- IT: How To Create a Self-Signed Security (SSL) Certificate and Deploy it to Client Machines.
- HowTo: Create Self-Signed Certificate Via SelfSSL Utility [Included In IIS 6 Reskit Tools].
- IIS 7.5 Creating self-signed certificates with validation date of more than a year.
- OpenSSL for Windows: A tool to create self-signed certificates without IIS installed.
b. Install an SSL Certificate on Port 443
To install that SSL Certificate on Port 443 so it can be used with AutoHub:
- Click the Windows Start button.
- Type certmgr.msc in the search field.
- Press the Enter key on your keyboard.
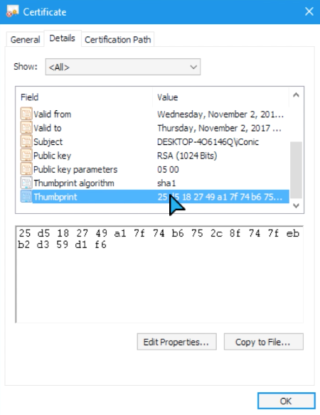
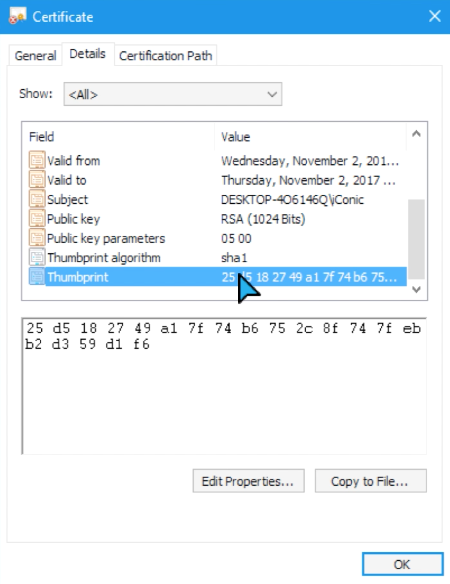
- Locate the SSL Certificate in Certificate Manager.
- Copy the thumbprint.
- Click the Windows Start button.
- Select Command Prompt.
- Add the SSL Certificate to the AutoHub port by pasting in the following command into the command prompt. Replace [thumbprint] with the thumbprint you copied above with all the spaces removed:
netsh http add sslcert ipport=0.0.0.0:443 appid={12345678-db90-4b66-8b01-88f7af2e36bf} certhash=[thumbprint] - Double-click the AutoHub icon on your Desktop.
3. Add a Remote Server to Plutora Test
Add a remote server to Plutora Test:
- Click Settings.
- Click the Integrations tab.

- Click Selenium.
- Click + Add New Server.
- Type the Server Name. (Mandatory field.)
- Type the Server Address. (Mandatory field.)
- Click Save & Close.
- Click Retry.
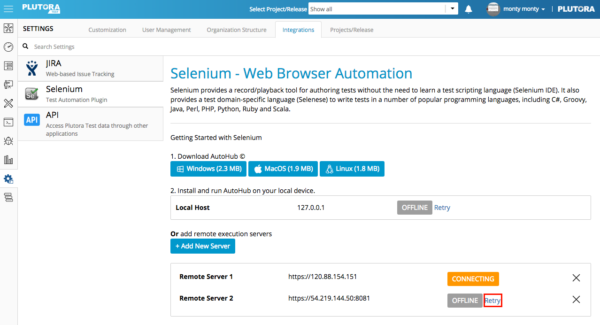
The status box will turn from OFFLINE (gray) to CONNECTING (orange) to ONLINE (green).

4. Add a Local Server to Plutora Test
Check that Plutora Test has detected the local server:
- Click Settings.
- Click the Integrations tab.
- Click Selenium.
- Once a local instance of AutoHub.exe is running on your computer, Plutora Test should automatically detect it. Click Retry beside the status if it shows as OFFLINE.

- Status should be green and ONLINE.

5. Check that AutoHub is Available
To check that Plutora Test is detecting AutoHub:
- Click Test Execution.

- AutoHub should show as Available.

![]()