

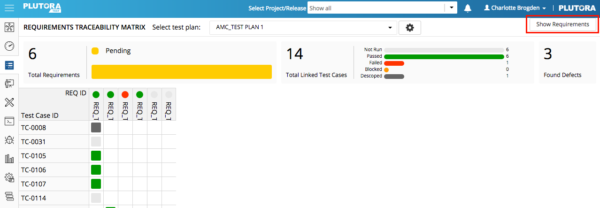
The Requirements Traceability Matrix page shows:
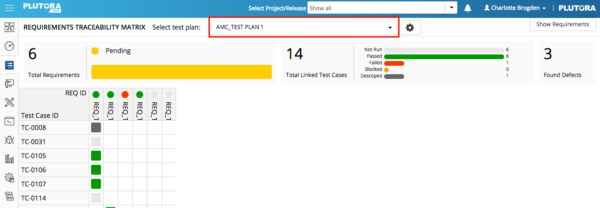
- The metrics of the selected Test Plan, including the total requirements.

- The Requirements Traceability Matrix showing:
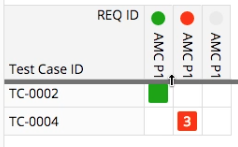
- The Requirements that belong to each Test Case.
- Green squares for successful tests.
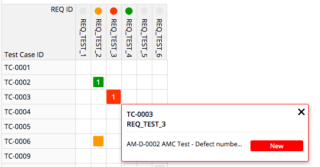
- Red squares for unsuccessful tests, with a number showing the Defects created.
Clicking a square with a number now opens a pop up with a clickable list of the Defects and their statuses.
- Gray squares for tests that haven’t started yet.


Manage the Requirements Traceability Matrix
- Click Requirements.

- Click RTM.

- Select a Test Plan from the drop-down menu.
Resize the top header row and the left-hand row of the Requirements Traceability Matrix by hovering your mouse cursor until you see an arrow and then dragging. - Use Matrix Settings to change what is displayed on the Requirements Traceability Matrix’s X and Y axises:
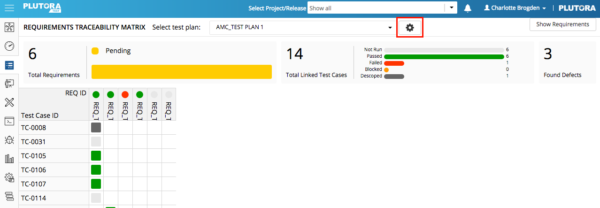
- Click the cogwheel-shaped
 button.
- Update X Axis Display by clicking to select:
- REQ ID: Requirement ID. The default value.
- REQ Name: Requirement Name.
- Update Y Axis Display by clicking to select:
- Test Case ID: The default value.
- Test Case Name.
- Update X Axis Display by clicking to select:
- Click Save & Close.
- Resize the headers if necessary.
- Click the cogwheel-shaped
- Return to the Requirements page by clicking Requirements.


![]()