Manage Release Changes

Introduction

The Change tab, in Project and Independent Release, displays the Changes linked to the Release. With this tab, you can

  • see a list of the Changes that are included in the Release.
  • view the status of the Change enabling you to see the progress of your Release deliverables.
  • add one or more Changes to the Project or Independent release.
  • remove one or more Changes to the Project or Independent release.
  • view the Assignee details to which the Change is assigned.
  • add a new Change directly to the release.
  • apply filters on the grid columns. This enables you to refine the list displayed.

You can customize the ‘Change’ tab name using Menu Setup Customization (Changes) feature. This article provides you with a brief overview of steps to add Change to your Release.

Pre-requisite

  • To be able to add Changes to a Release, you must link the respective Systems to the ‘Regression Systems’ Subtype. For more details to link Systems, see Manage Systems. This System must, in turn, be linked to the Change.
  • You must have the ‘Assign Changes’ and ‘View Changes Tab’ user permissions to be able to add and manage Change to a Release.

Release > Manager

Access ‘Change’ tab

To access the Change tab:

  1. Navigate to the ‘Release Manager’ page.
  2. Search for the Project or Independent Release in which you want to manage the Changes. You can use the filter options available on this page.
  3. Open the record by clicking on the Release ID or Release Name.
  4. Click on the Change tab.

Change Grid Layout and Features

On the Change pop-up you can:

  • see the list of changes linked to your Release and its details.
  • link Change(s) to the release.
  • create a new Change.
  • remove (or unlink) Changes.
  • filter Changes using grid filter options.

Search and Filter Options

Grid Column Filter

To filter Changes using the Grid Column,

  • Search field: Type a search term.
  • Drop-down menu: Click to select a list item.
  • Combo box: Click to select one or more checkboxes.
  • Filter by Date/Time: Select a date or date range
  • Filter by Value: Select a value or value range
Press the Enter key to run the filter.

Show/Hide Column

Changes grid has many default columns, you can choose to show or hide these columns. For this:

  1. Click.
  2. Click Show/Hide columns.
  3. On the ‘Edit Columns’ pop up select/unselect the columns that you want to show/hide on the grid.
  4. Click .

Change ID and Change Name fields are selected by default and you cannot deselect these columns.

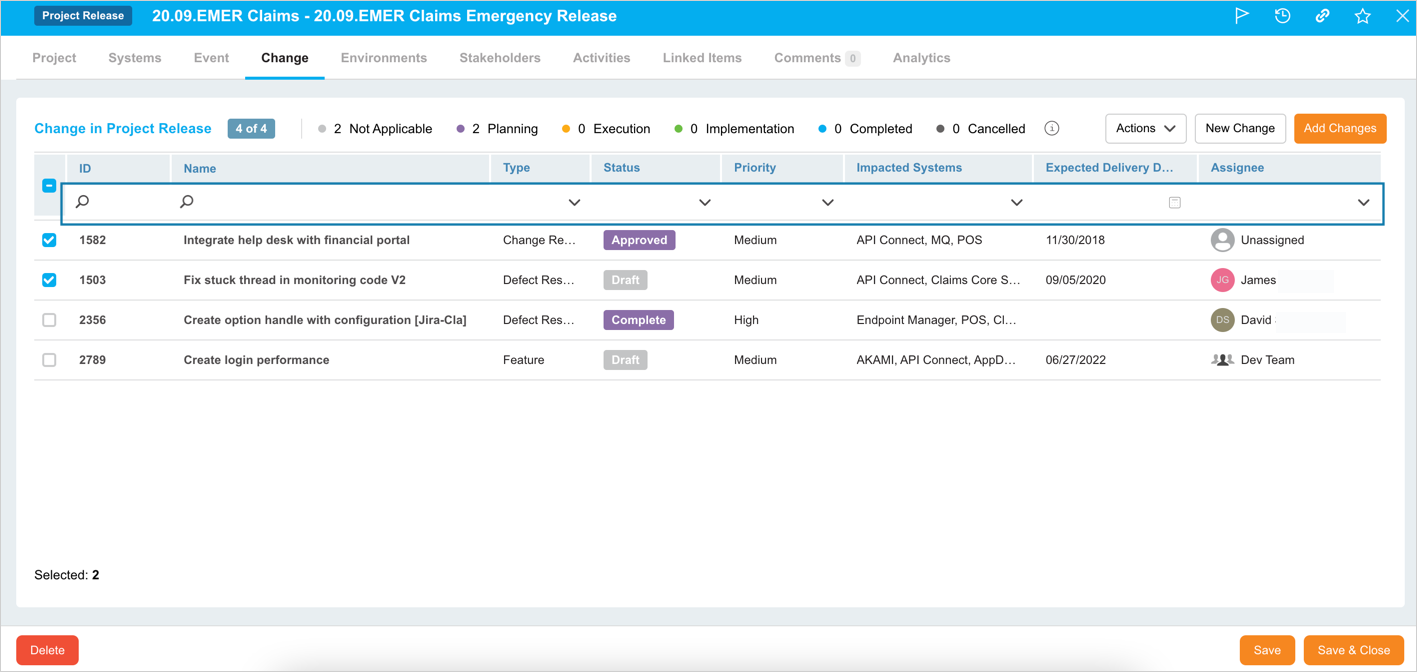
View Changes Linked to the Release

The grid displays all the Changes that are linked to the Release. Filter and select the change that you want to view. Then click on the Change ID or Change Name. This displays the ‘Change’ pop-up for the selected Change. Click to close the pop-up.

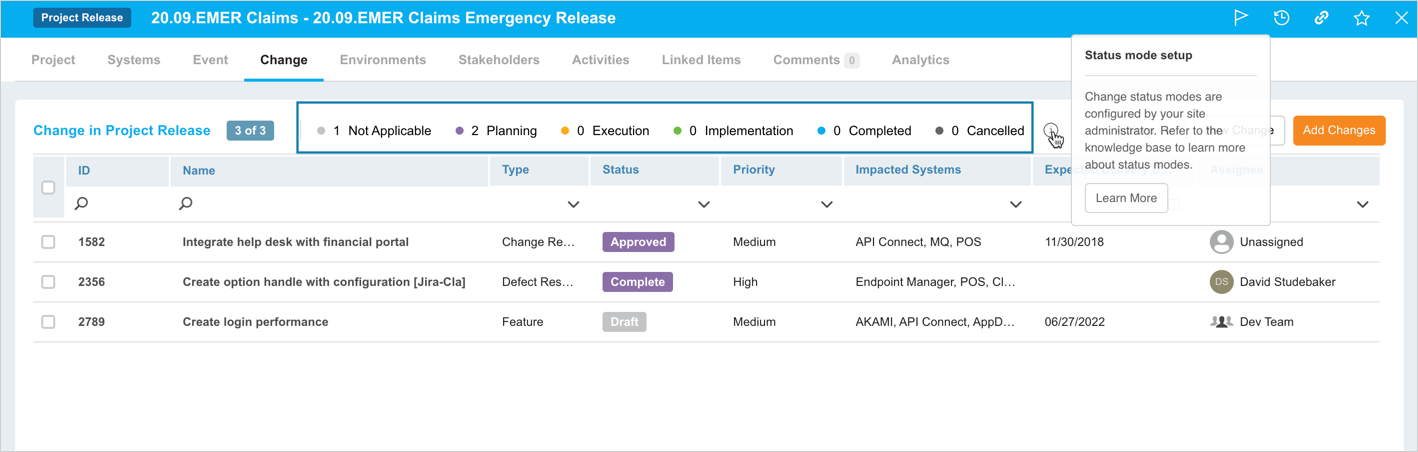
Number of Linked Change

The number on the header displays the total number of Changes linked to the Release.
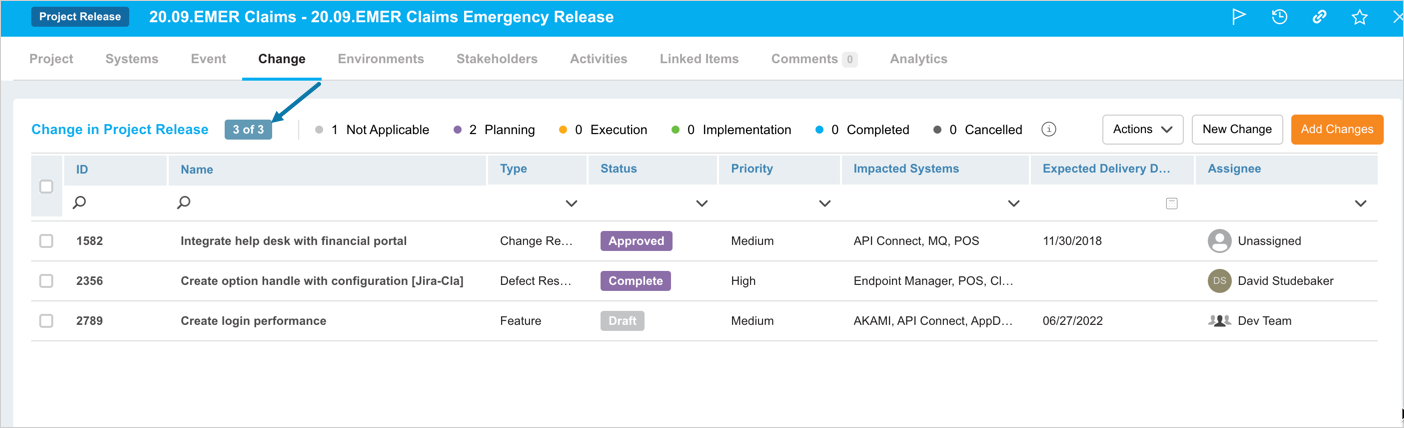
Status Modes

The status modes, displayed at the header, shows the number of Changes with that status.

View Unassigned & Group Assigned Change

To view the Changes that are added to the Release but are unassigned, add the ‘Assignee’ column to the grid using the Show/Hide Column. Then filter the column for ‘Unsassigned’.

The Change that has in the ‘Assignee’ column indicates that it is assigned to a group.

Add Changes

To add (or link) a Change to the Release:

  1. Click on the top of the grid. ‘Add Changes’ pop-up displays the available Changes that you can link.
  2. Select one or more Changes that you want to link to the Release. The footer of the pop-up displays the number of Changes you have selected.
  3. Click .
The footer displays the number of Changes selected to be linked to the Release.

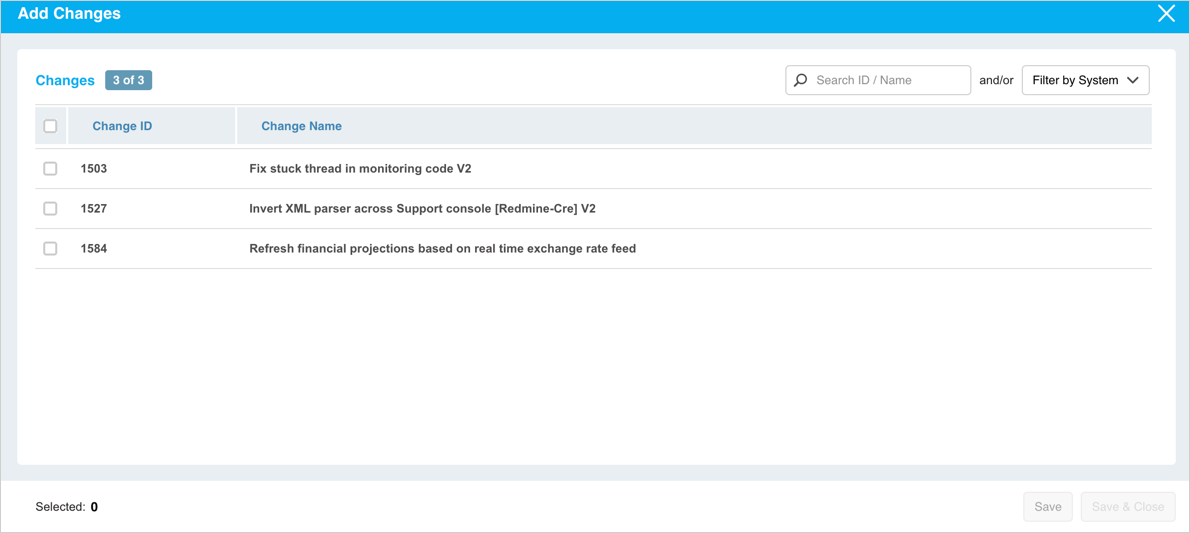
The Change grid displays the selected Change(s).
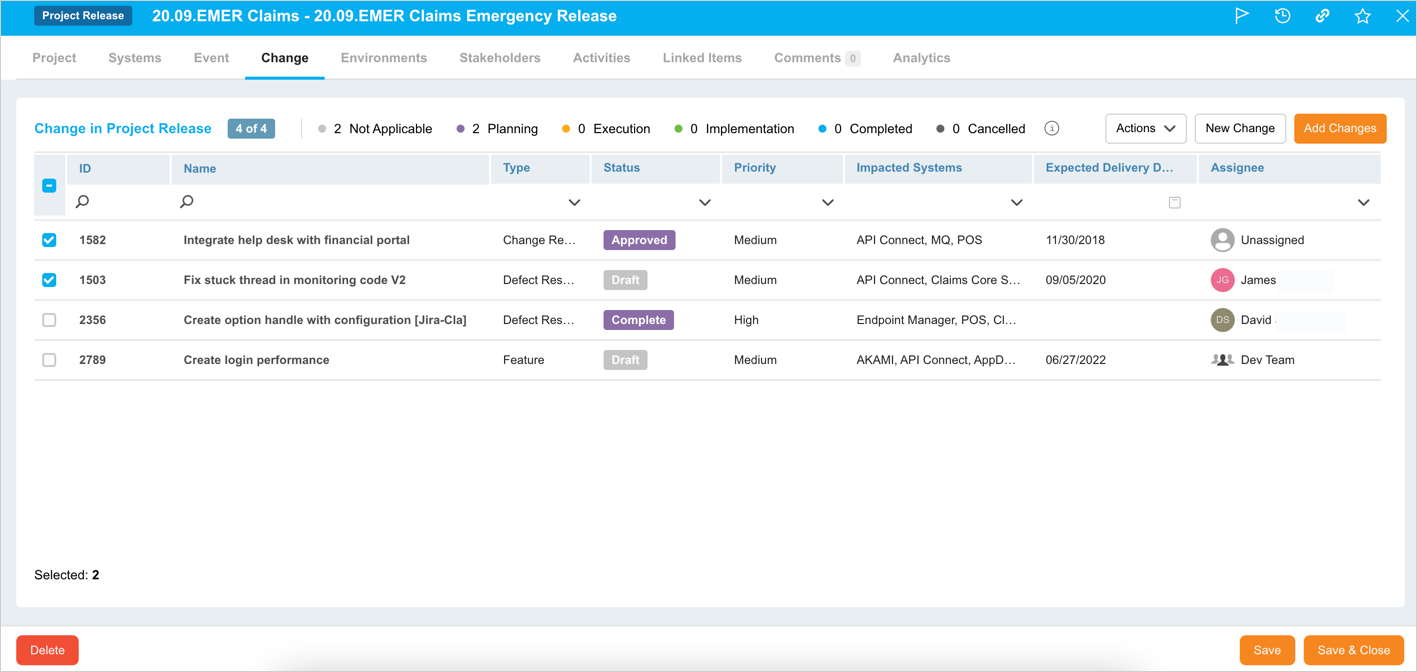
Remove Changes

To remove (or unlink) a Change(s) from the Release:

  1. Select the Change(s) that you want to remove on the grid.
  2. Click .
  3. Click Remove Changes.

Plutora will remove (and unlink) the Change(s) from the grid. You can re-link these Changes via feature.

Create a New Change

To create a new change, click on the top of the grid. The ‘Change’ pop-up displays. Fill in the fields on this pop-up to create a new Change. For further details on this pop-up, see Add Or Edit Changes.

More Information

Sort by Column Header

You can sort the Changes on the grid in ascending/descending order. To sort, click on the column header. ↑ or ↓ displays indicating the ascending or descending column sort.

Search/Filter Change on ‘Add Changes’

On the ‘Add Changes’ pop-up, you can search for the Change by its ID/Name or filter the Changes by System.

Related Articles

Contents

Be the first to find out about new features. Subscribe to the Release Notes email.

Was this article helpful?

Thanks for your answer!