
The Test Execution page allows users to execute the Manual Test Cases they created in Test Designer.
Uploaded attachments are now sorted in descending order by upload date.
For Automated Test Cases, see Execute An Automated Test Case.
1. Find the Test Case in Test Execution
To find the Test Case:
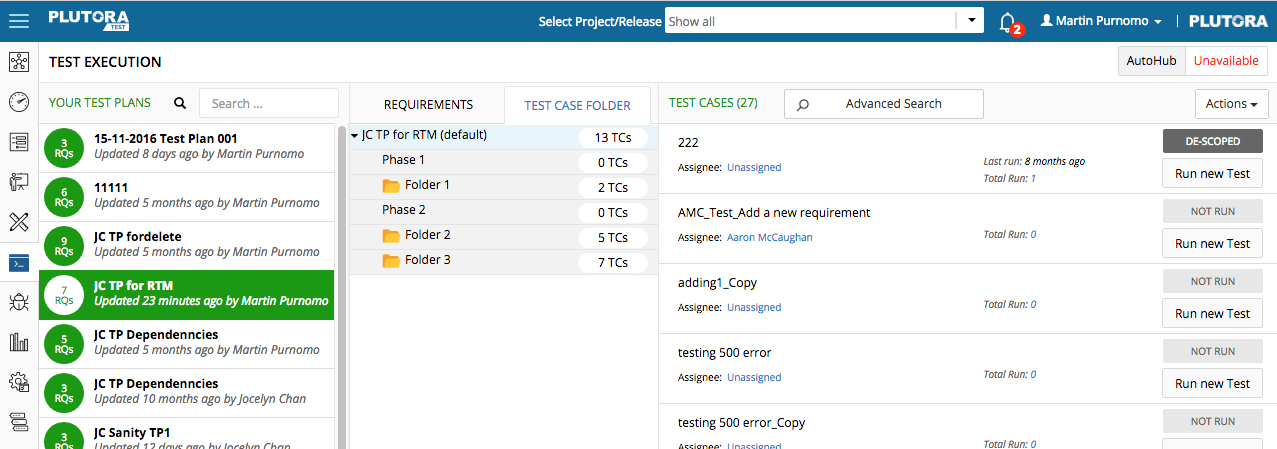
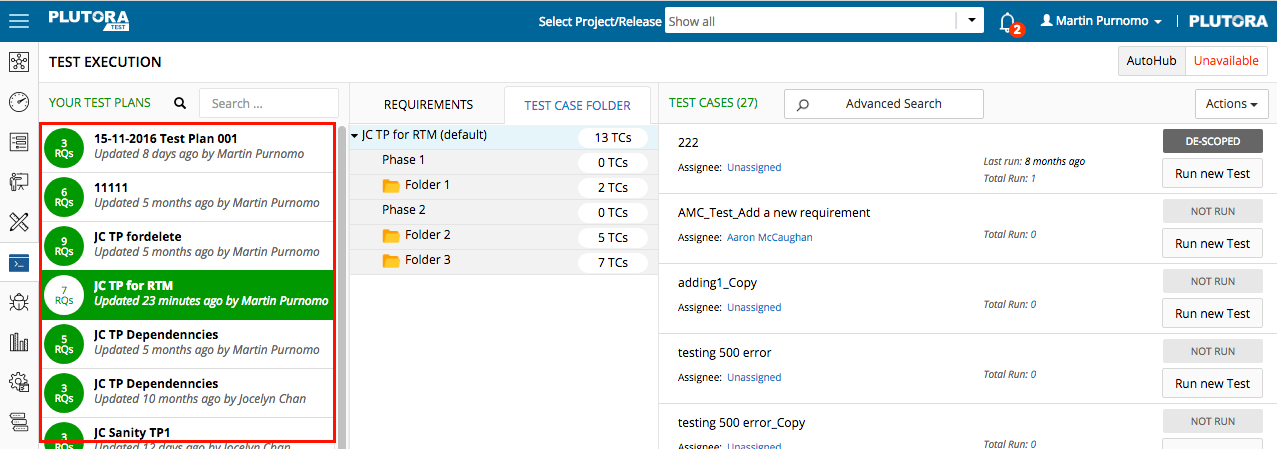
- Click Test Execution.

- Search for a Test Plan that contains the Test Case:
Test Execution only displays Active Test Plans. - Click to select a Test Plan.

- Locate the Test Case in the Test Plan:
Test Cases can now be manually sorted in Test Designer. See Manage Test Case Folders.
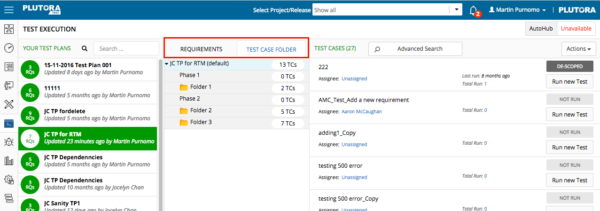
- Click the Requirements tab and selecting a Requirement.
Or: - Click the Test Case Folder tab and select a folder:
Test Case Folders now show the number of Test Cases they contain.
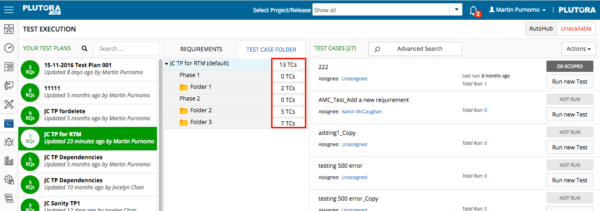
- All new Test Plans now have a default Test Case folder. For example, AMC_TEST PLAN 1 (default) in the screenshot below. When users add Requirements with associated Test Cases into a Test Plan, those Test Cases will be added to the default Test Case folder.
- The Test Case Folder now contains the phases from the Test Plan. For example, UAT above. By default the phases are empty and users must add folders by clicking the new folder button.

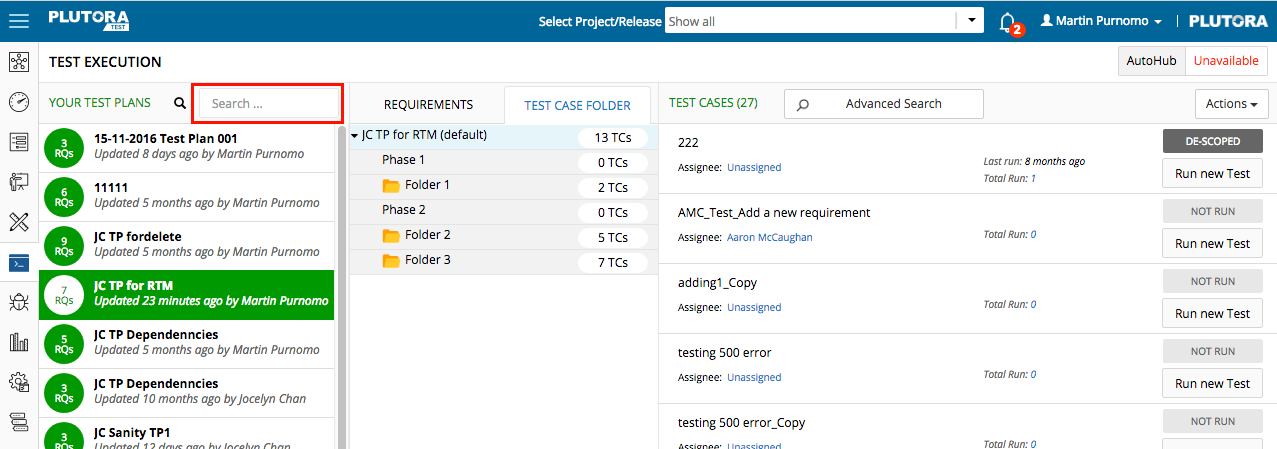
- Quick or Advanced Search for a Test Case: Click Advanced Search. See Quick Search and Advanced Search for more information.
- Manual Test Cases lack the Selenium icon.

- Click the Requirements tab and selecting a Requirement.


2. Execute a Manual Test Case
To execute a manual Test Case:
- Hover your mouse cursor over the Test Case’s Run new test button. The Run new Test button slides and reveals:
 Internal Execution.
- Run an Internal Execution method test:
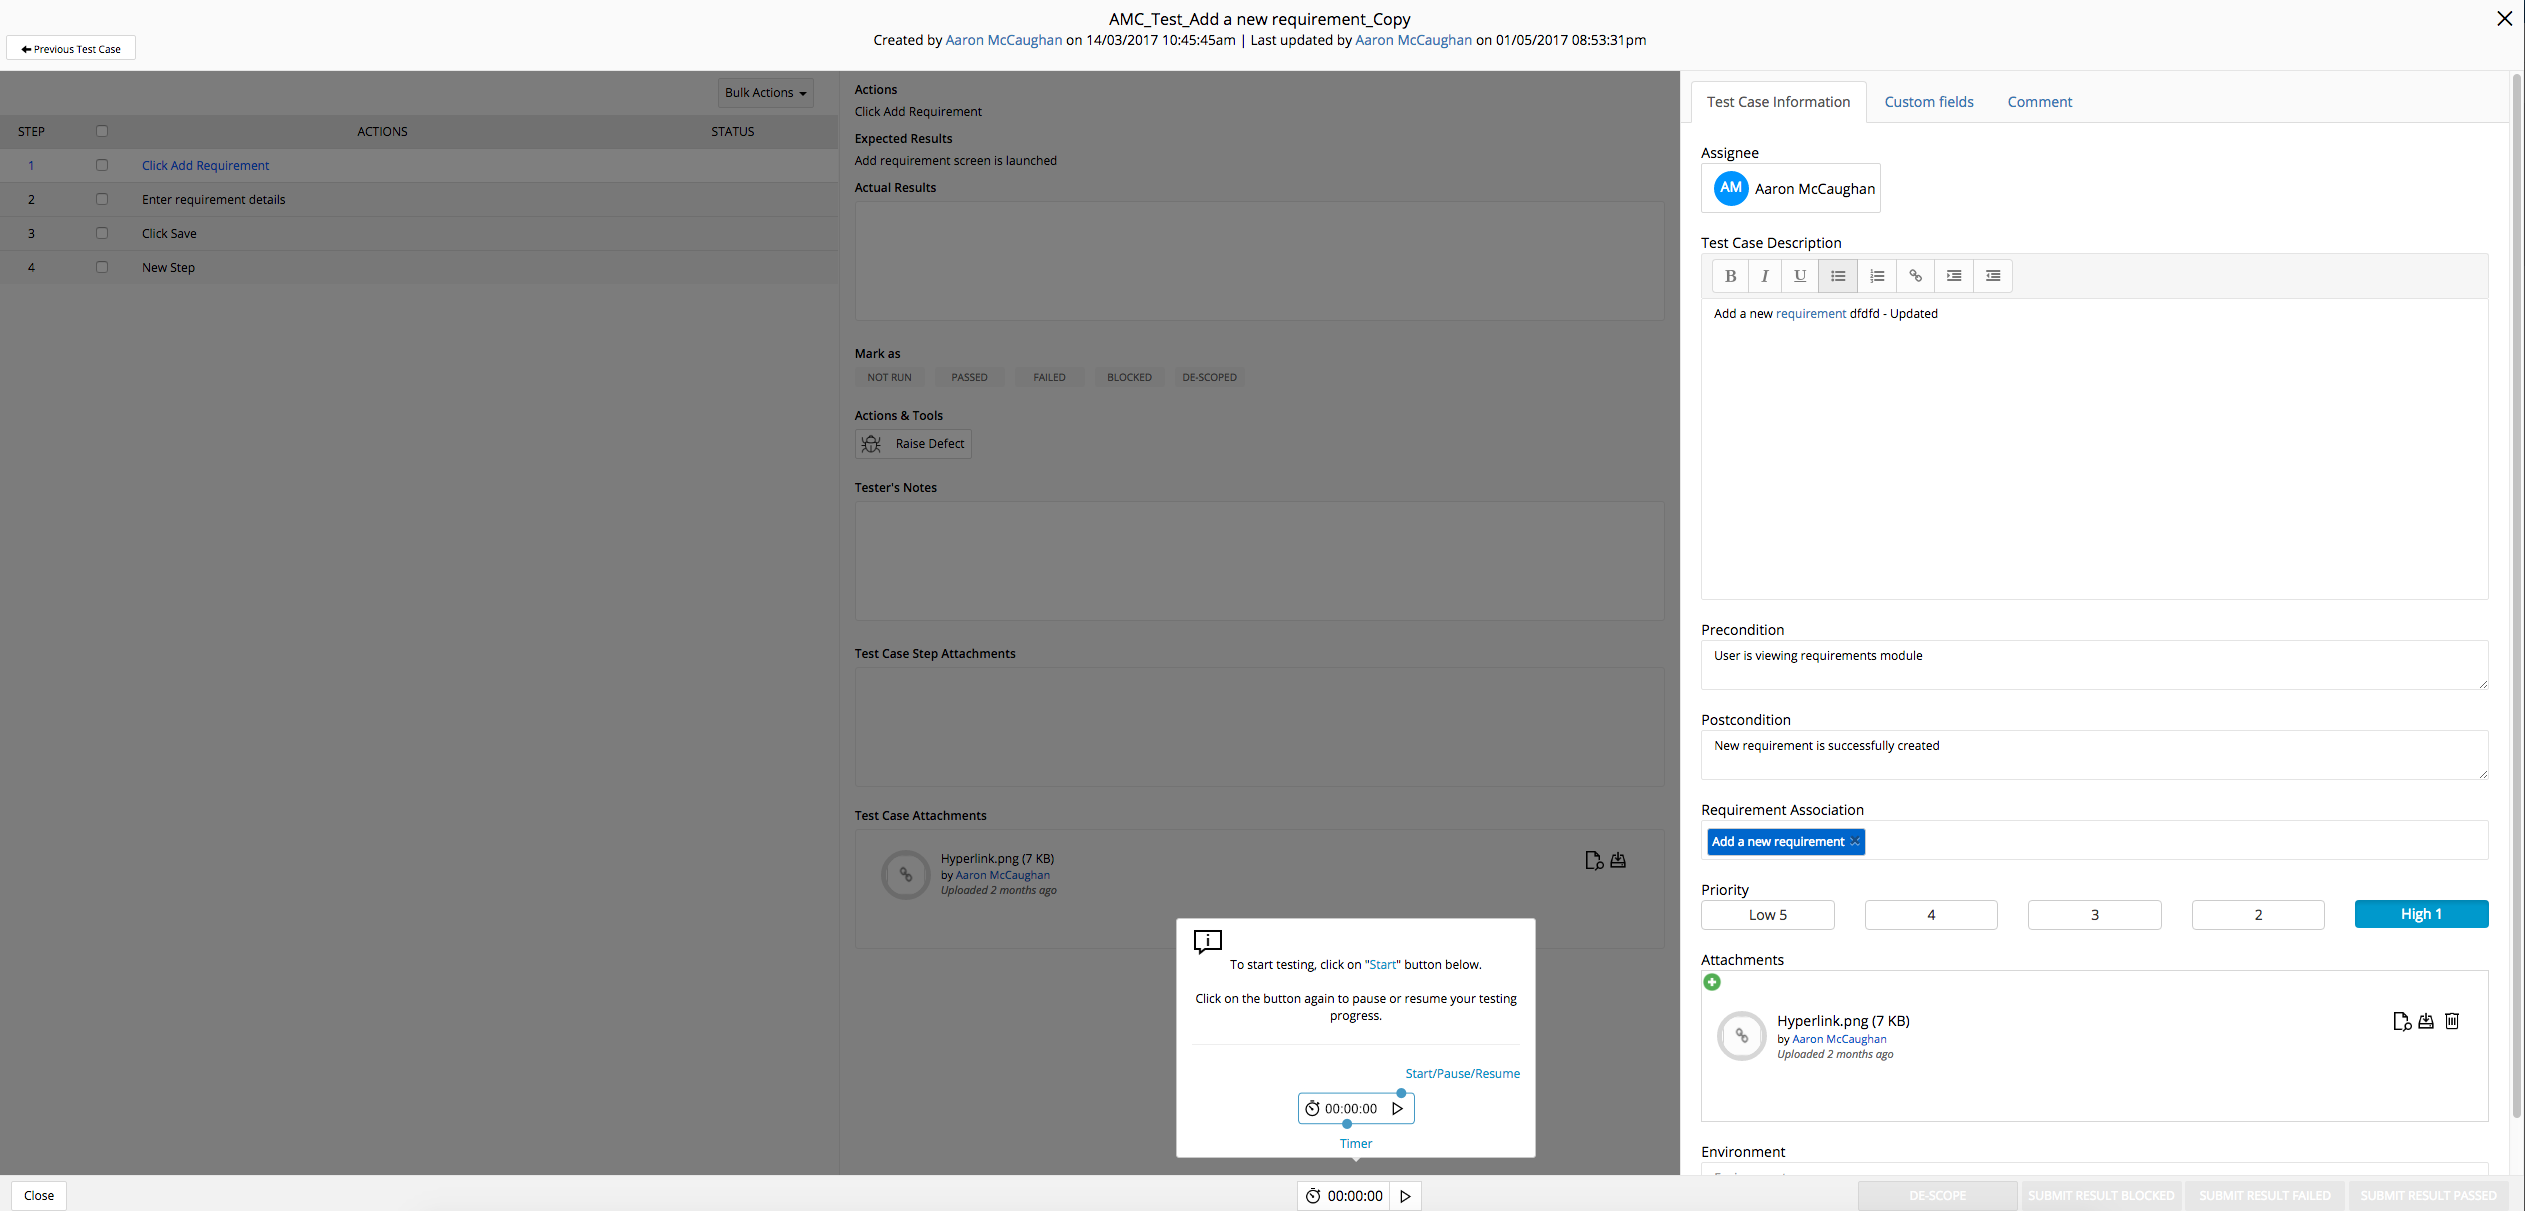
- Click the Internal Execution button.
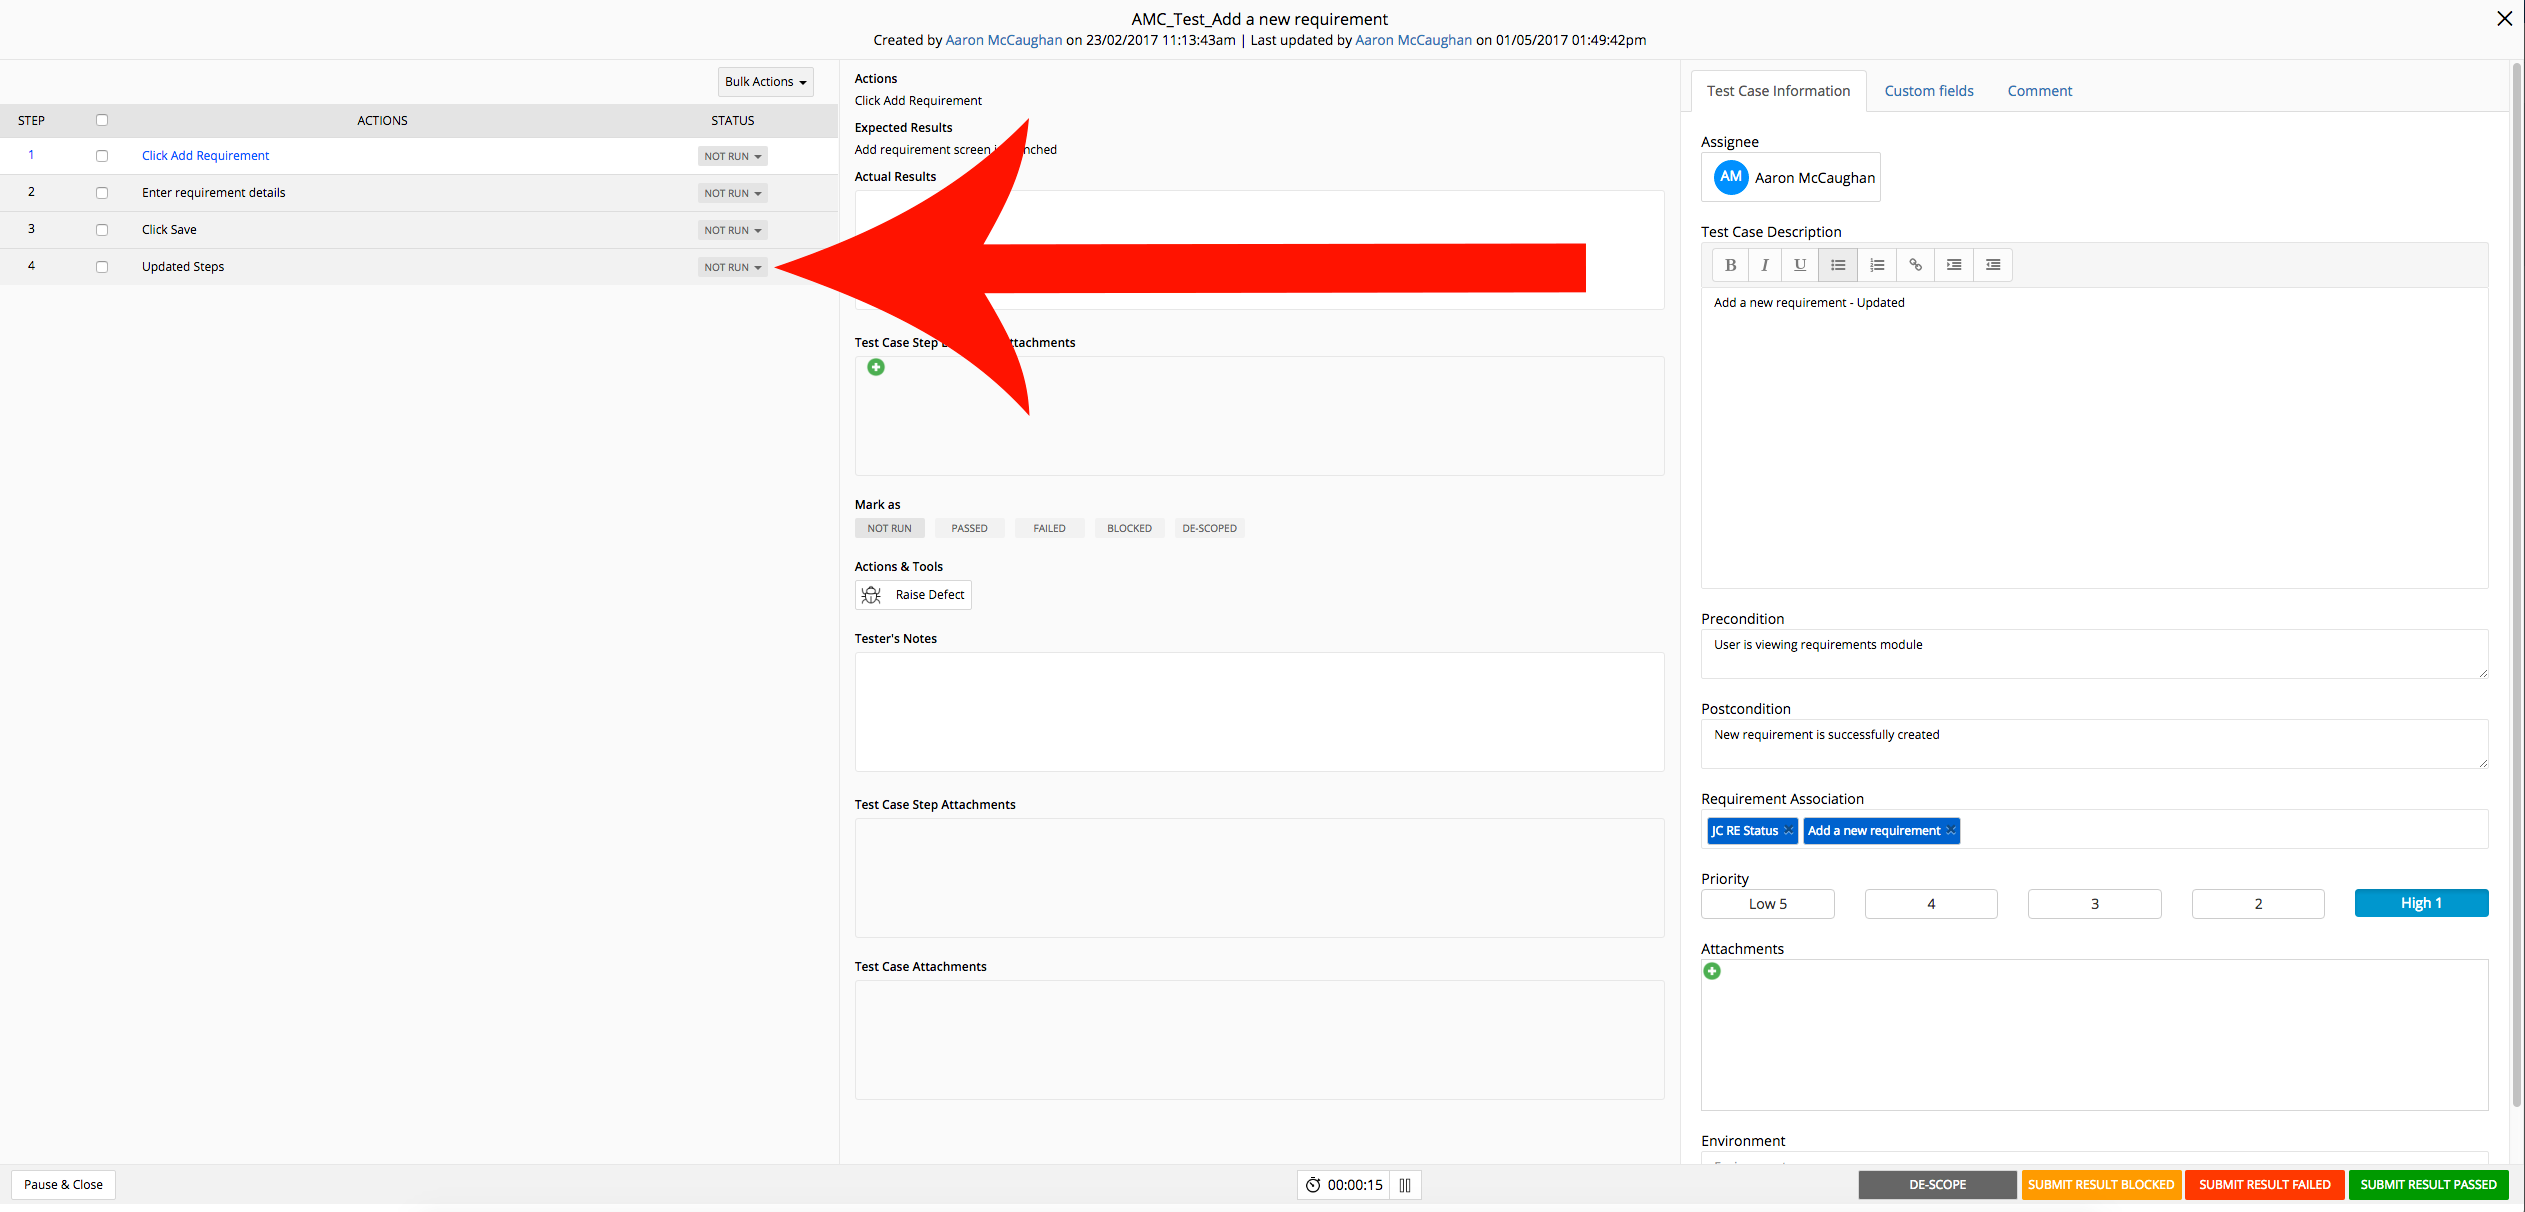
The Test Case opens in grayed-out, paused mode. No fields can be edited.

- Click Play.

The timer starts. - Click to select an Action (a Test Step).
- Type the Actual Results.
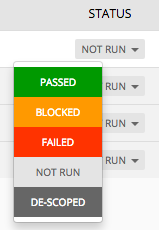
- Submit the test as:
- Passed: Expected results match the actual results.
- Blocked: Test unable to be performed.
- Failed: Expected results do not match the actual results.
- Not Run: Starting status.
- Descoped: Test Case is not relevant, not part of the scope, and does not need to be run.
- Click the Internal Execution button.
- Type any Tester’s Notes.
- Manage Test Case Step Attachments:
To manage attachments, users need the Attachment View / Download, Attachment Access, Attachment Create, and Attachment Delete user permissions.- Manage Test Case attachments:
- Add an attachment:
- Click the green cross button under Attachments.

- Select a file and click Open.
The attachment uploads and appears as a circular icon.
- Click the green cross button under Attachments.
- View an attachment:
- Click the view button.

- Click the X in the top right corner to close the attachment.
- Click the view button.
- Download an attachment:
- Delete an attachment:
- Click the delete button.

- Click the delete button.
- Add an attachment:
- Manage Test Case attachments:
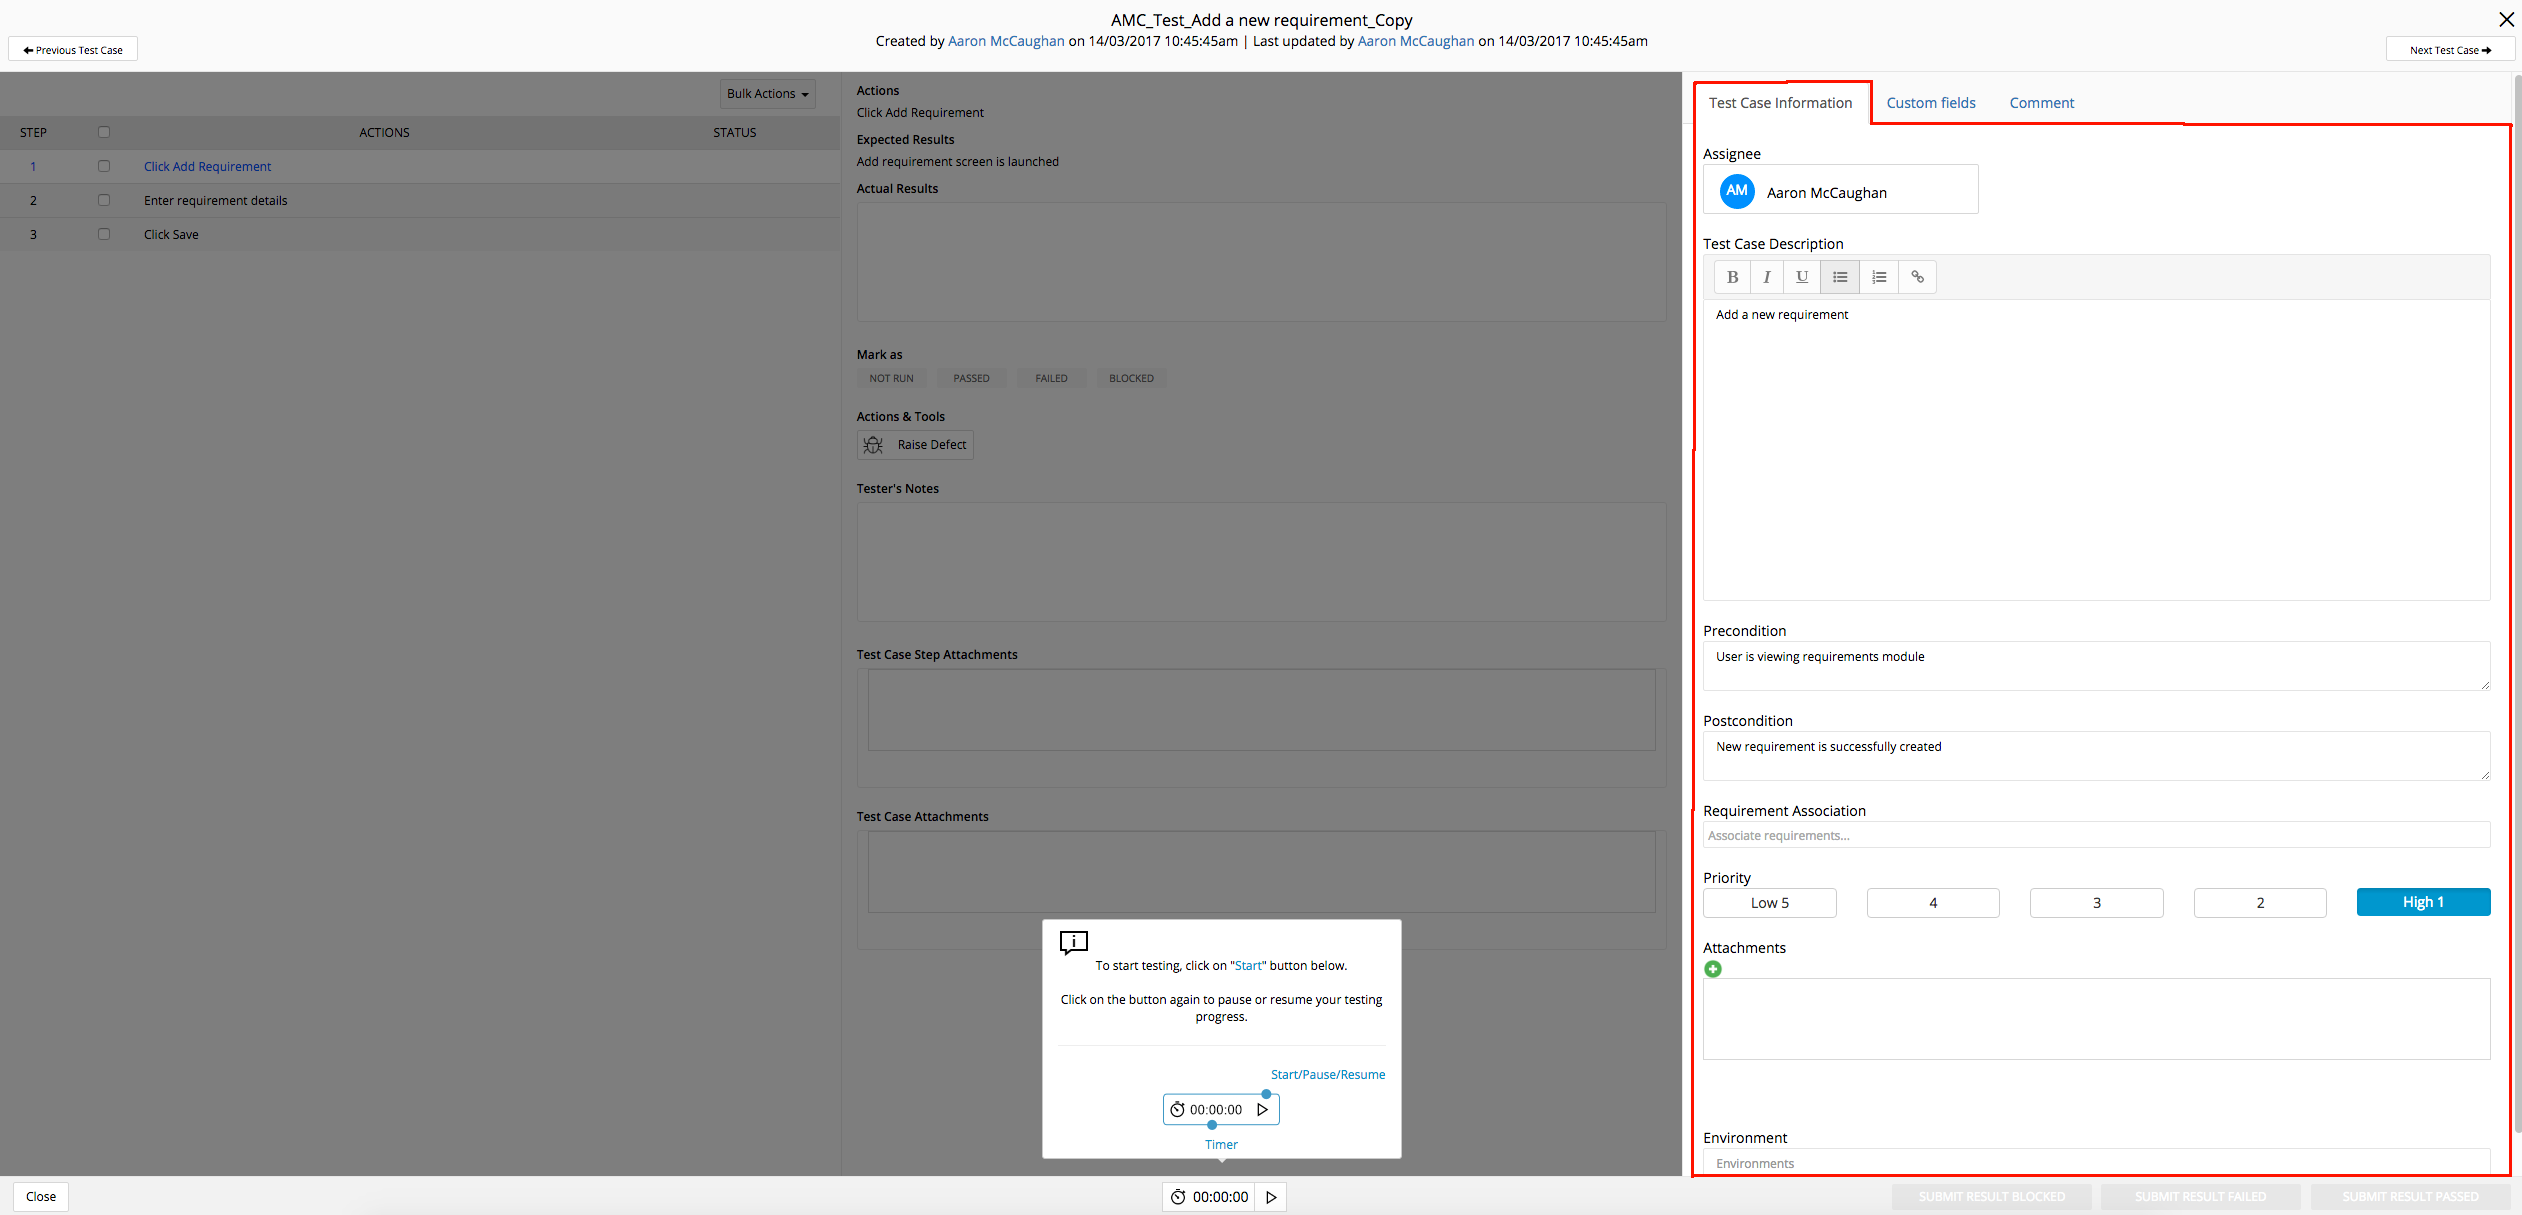
- Manage Test Case Information:
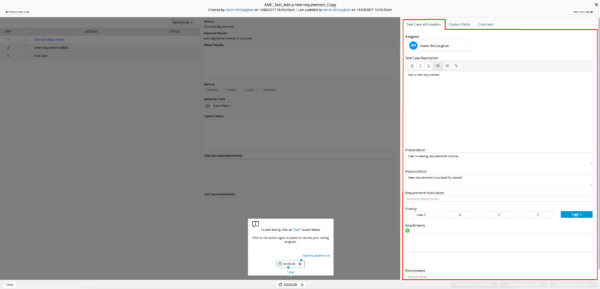
- Edit the following fields:
Assignee can only be edited in Test Designer.- Type the Test Case Description:
- Format Test Case Description:
- Bold.

- Italic.

- Underline.

- Bulleted List.

- Numbered List.

- Hyperlink.

- Bold.
- Format Test Case Description:
- Type a Precondition.
- Type a Postcondition.
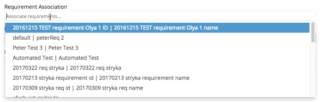
- Click Requirement Association and select a Requirement. Click again to select more.Now Requirement ID appears next to Requirement Name and can be searched for and selected too.
- Click to select a Priority.
- Manage Attachments:To manage attachments, users need the Attachment View / Download, Attachment Access, Attachment Create, and Attachment Delete user permissions.
- Add an attachment:
- Click the green cross button under Attachments.
- Select a file and click Open.
The attachment uploads and appears as a circular icon.
- Click the green cross button under Attachments.
- View an attachment:
*NEW* Uploaded attachments are now sorted in descending order by upload date.- Click the view button.
- Click the X in the top right corner to close the attachment.
- Click the view button.
- Download an attachment:
- Delete an attachment:
- Click the delete button.
- Click the delete button.
- Add an attachment:
- Type an Environment.
- Type the Test Case Description:
- Edit the following fields:
- Manage Test Case Custom Fields:
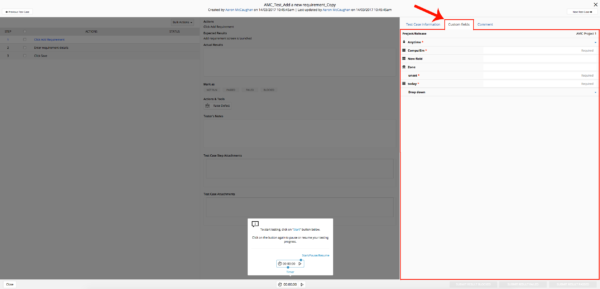
- Click the Custom Fields tab.
- Fill in the Test Designer Custom Fields.
These are fields that administrators have added using Test Designer Custom Fields Customization. These fields will vary between each Plutora Test installation. Please consult your administrators for the procedure for filling in these fields.
Multi-select custom fields now contain checkboxes for easy selection. Selected items in multi-select custom fields can now be deleted without opening the menu by clicking on the X next to each item.
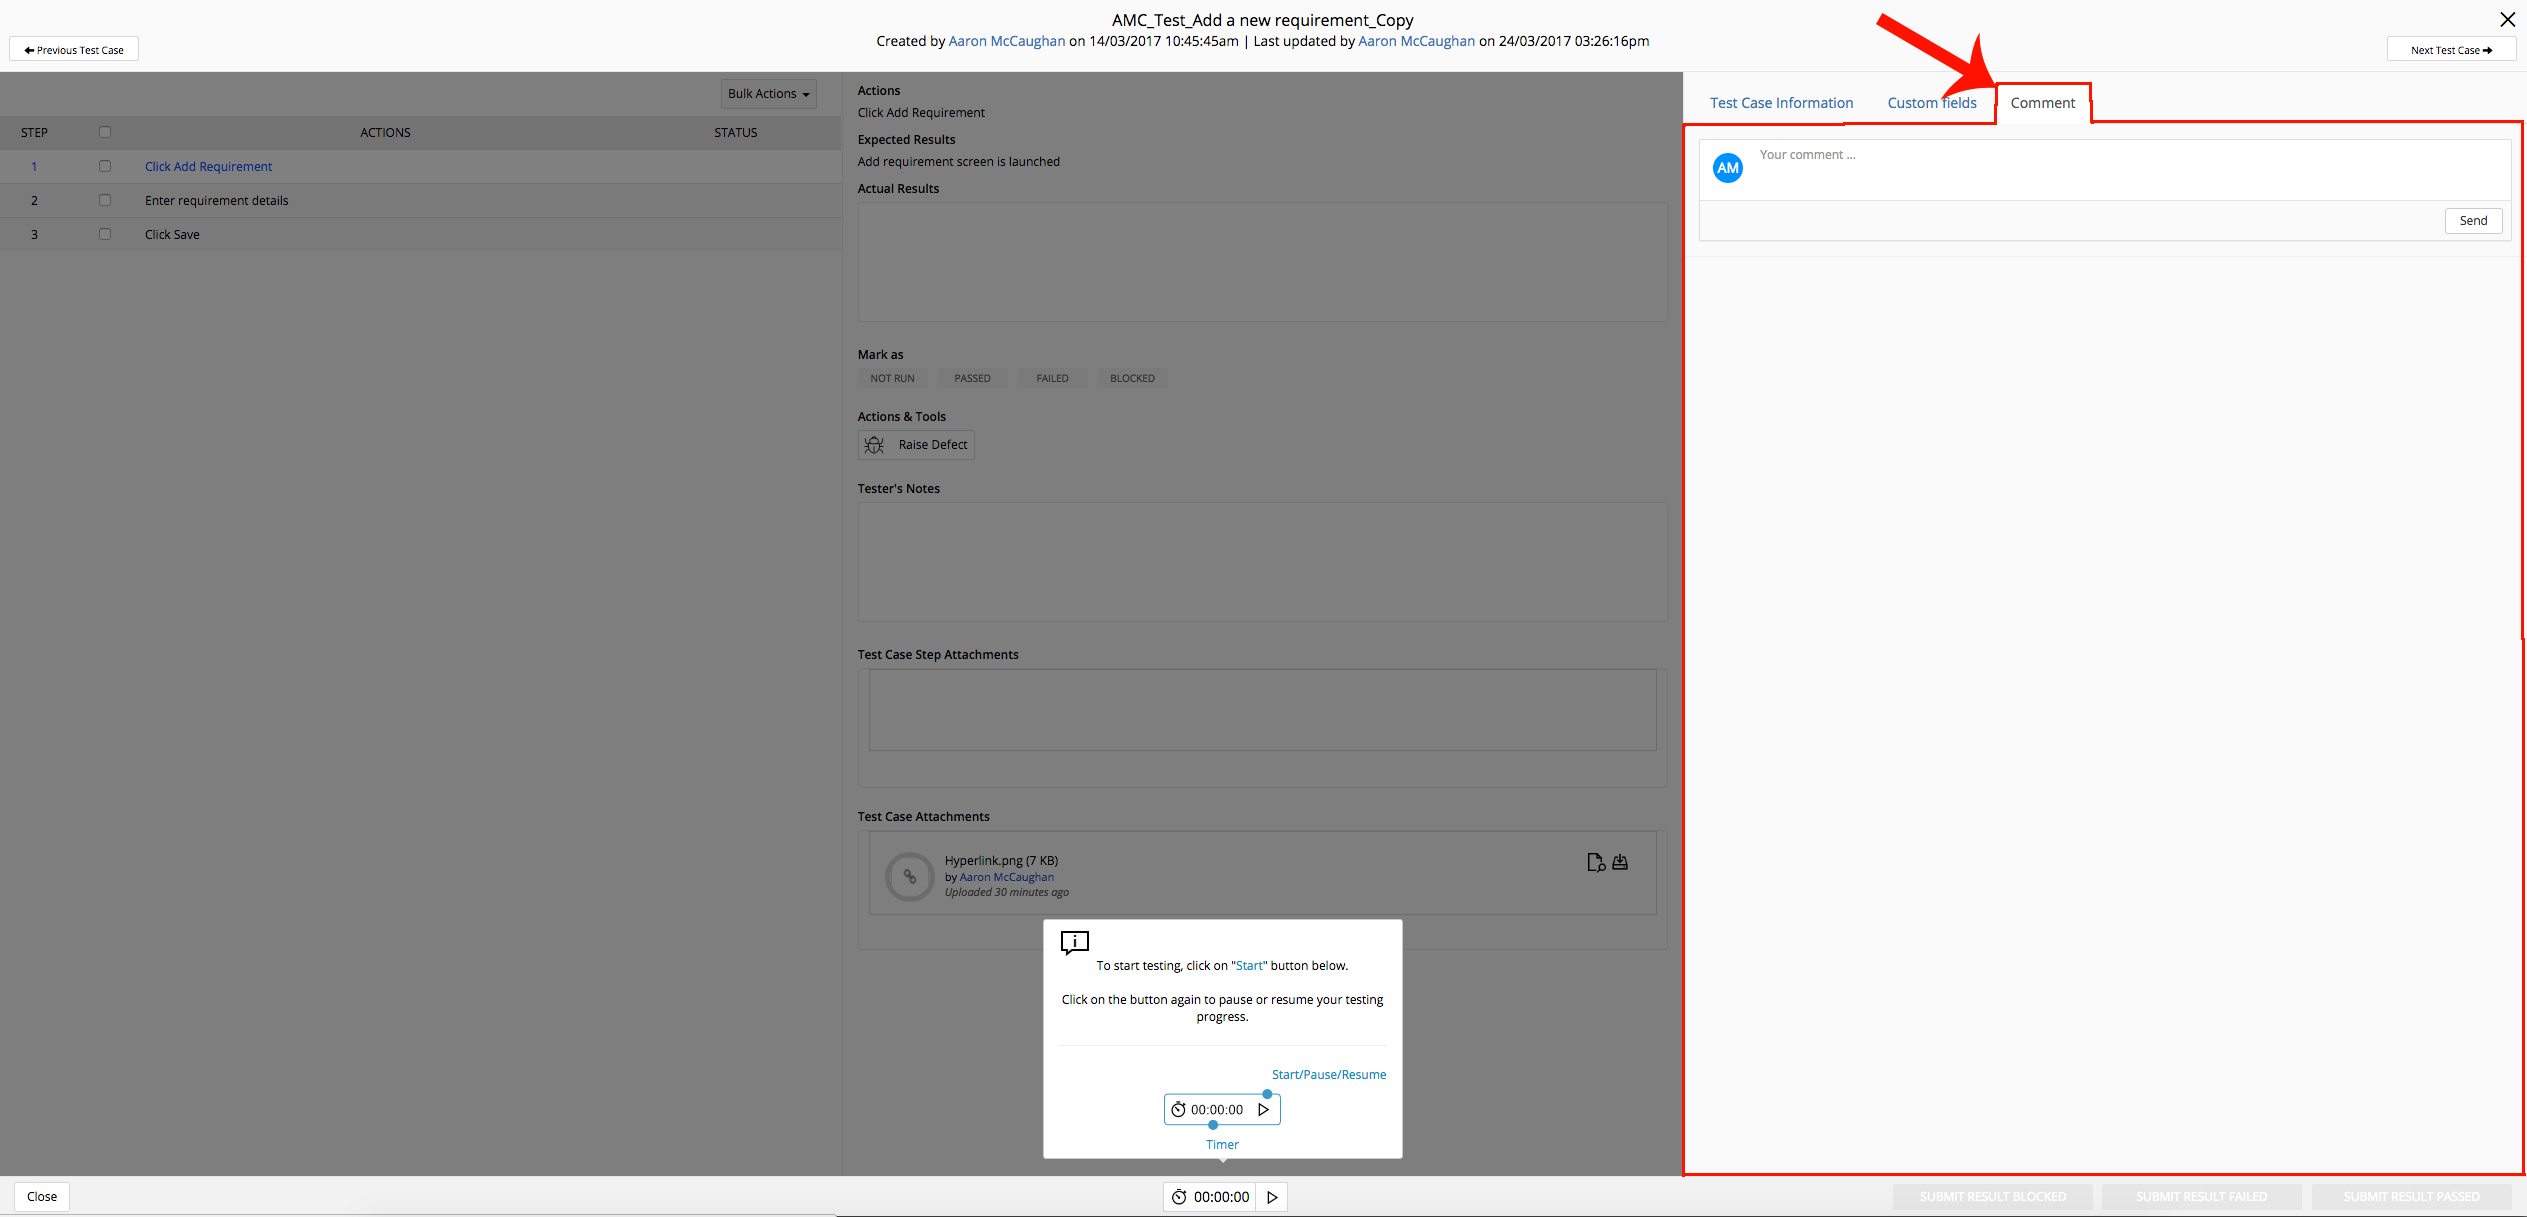
- Manage Comments:
To manage comments, users need the Comments View, Comments Create, and Comments Update user permissions.
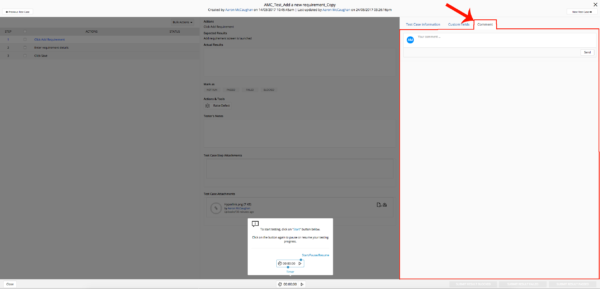
- Click the Comments tab.
- Add a comment by typing your comment in the Your comment… field and clicking Send.
- Click Edit to edit your comment.
- Click Reply to reply to a comment.
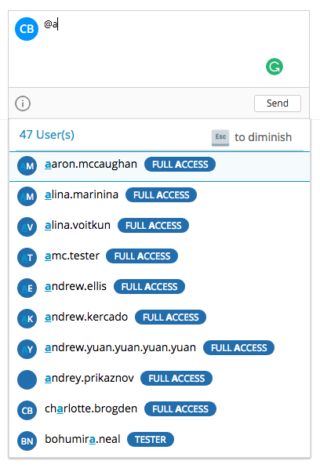
- To tag a User, so that your tagged comment appears in their Comment Stream:
- Type the @ symbol and the first few letters of their name in the comment field.
- Click to select their name from the menu that appears after you type @.
- Submit your test result:

- Click Descope if the test case was not relevant.
- Click Submit Result Passed if all actions passed.
Submit Result Passed button will be grayed out if any actions did not pass. - Click Submit Result Blocked if any actions were blocked.
- Click Submit Result Failed if one or more actions failed.
The Raise Defect pop up opens automatically.- Raise a Defect:
- Raise a Defect that is linked to existing Defects:
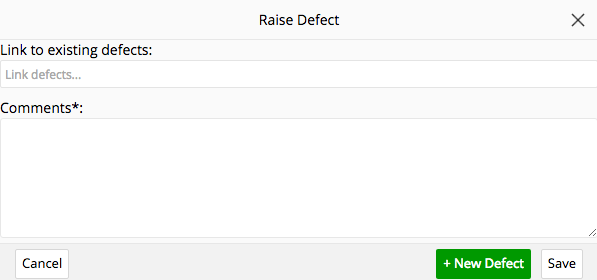
- Select an existing Defect from Link to existing defects.
Now Link to existing defects drop-down menu contains all the Defects the user is able to access. - Type a Comment. (Mandatory field.)
- Click Save.
- Raise a Defect that is linked to existing Defects:
- Or create a new Defect that is not linked to another Defect:
- Click + New Defect.
- See Add or Edit a Defect for further steps.
- Raise a Defect:


![]()