
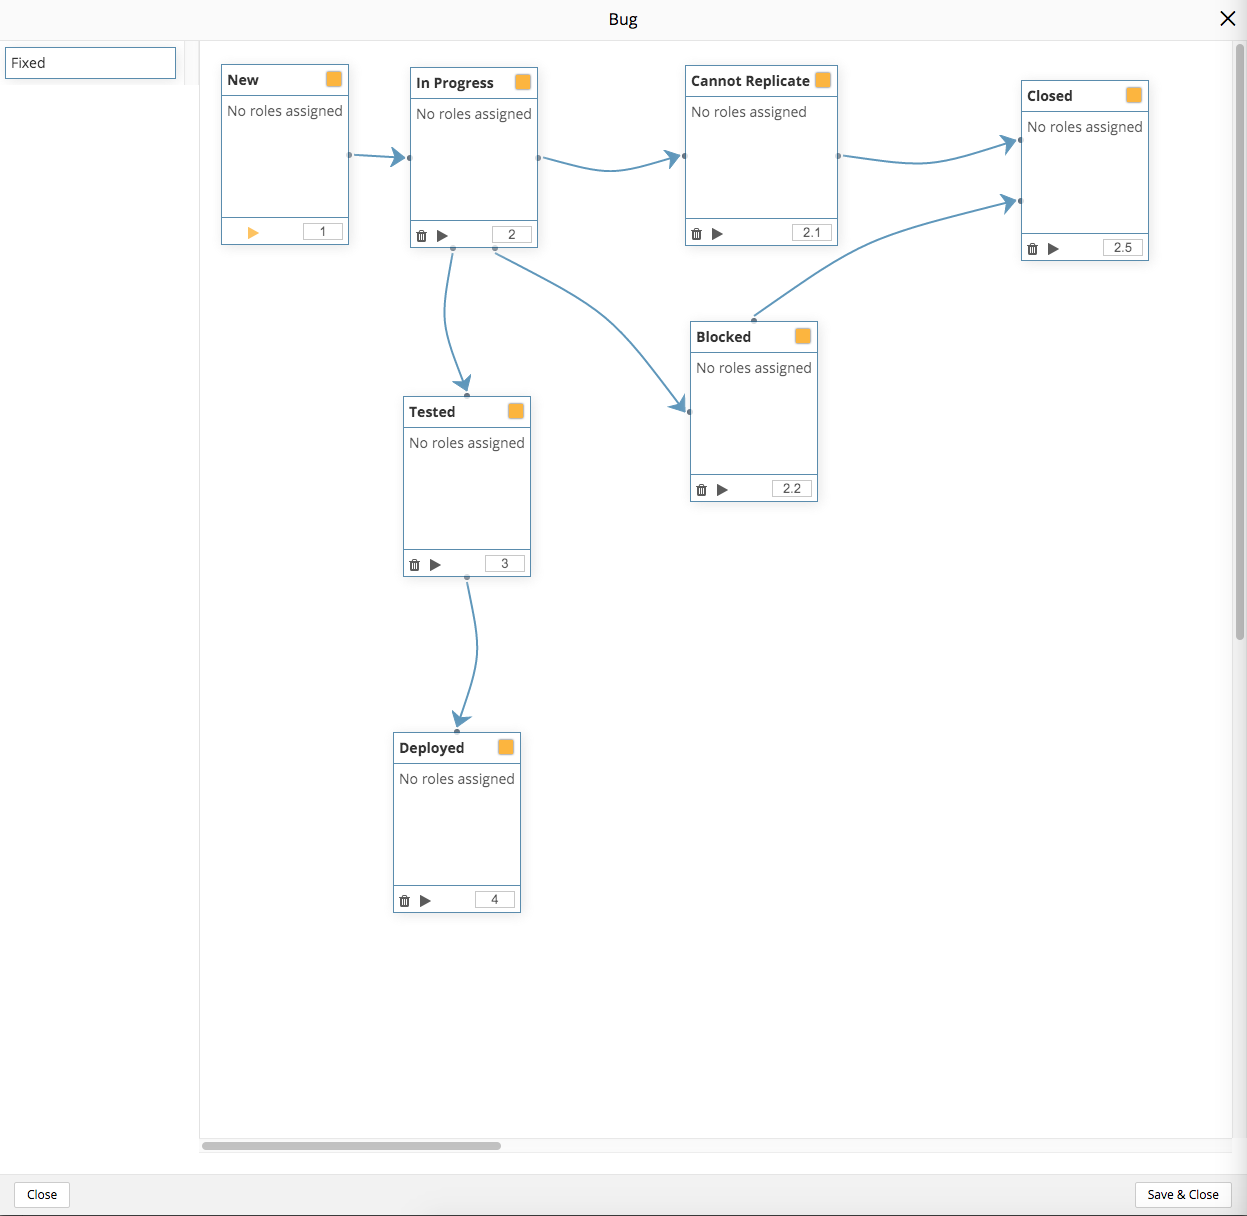
Defect Workflows allow users to create a sequence of Defect Statuses for each Defect Type, from an initial status to an end status. Users follow this workflow when working with Defects.

Create a Workflow
Users can create workflows of Defect Statuses for each Defect Type.
Use the Defect Custom Fields Customization to customize Defect Statuses and Types.
To create a workflow for a Defect Type:
- Click Settings.

The Select a Project… and Select Project/Release drop-down menus do not affect this customization.
- Click Defect in the left-hand menu.

- Click Workflows.
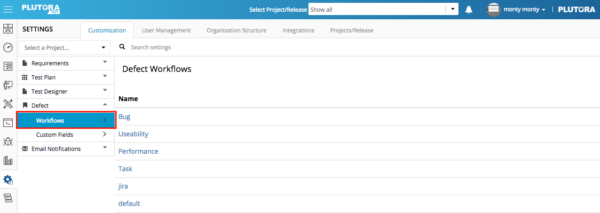
- Click a blue-linked Defect Type.
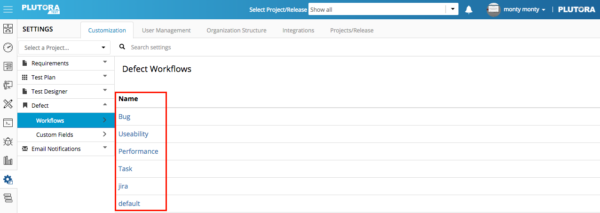
The workflow diagram window opens.
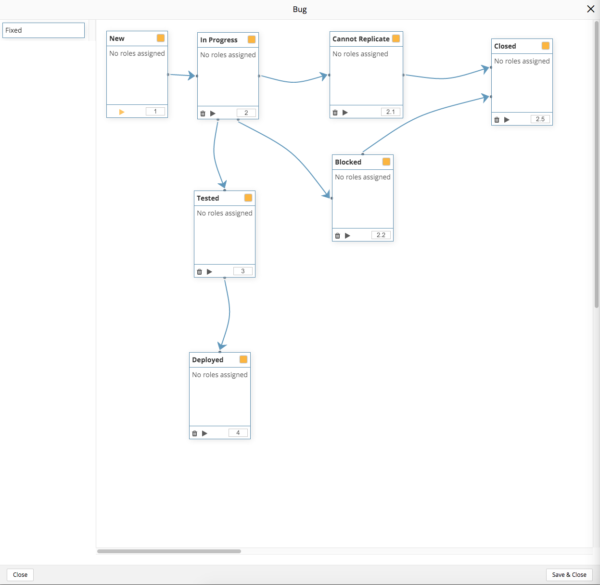
- Drag and drop Defect Statuses from the column on the left into the panel on the right.
- Make connections between status boxes by clicking and dragging the yellow button between status boxes.
Delete connections by double clicking them and clicking Yes. - Set Initial Status on one status box by clicking to select the triangular play button:

- Setting an initial status is mandatory.
- The initial status is auto selected when the user selects a Type.
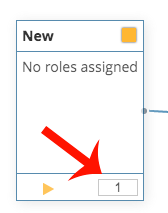
- Set the order priority of the Status in the workflow or Status field by typing a number in the bottom right corner:
- Statuses must have an order priority number to appear in the workflow or the Status field.
- Numbers must be positive integers, for example, 1, 2, 3. Zero is also acceptable.
- Numbers must be unique. For example, if a user entered 1, 2, 2, 3, only one of the 2 Statuses would appear in the Status drop-down menu.
- Click Save & Close.


![]()