
Add a System
To add a System:
- Navigate to the ‘Systems’ page.
- Click
 .
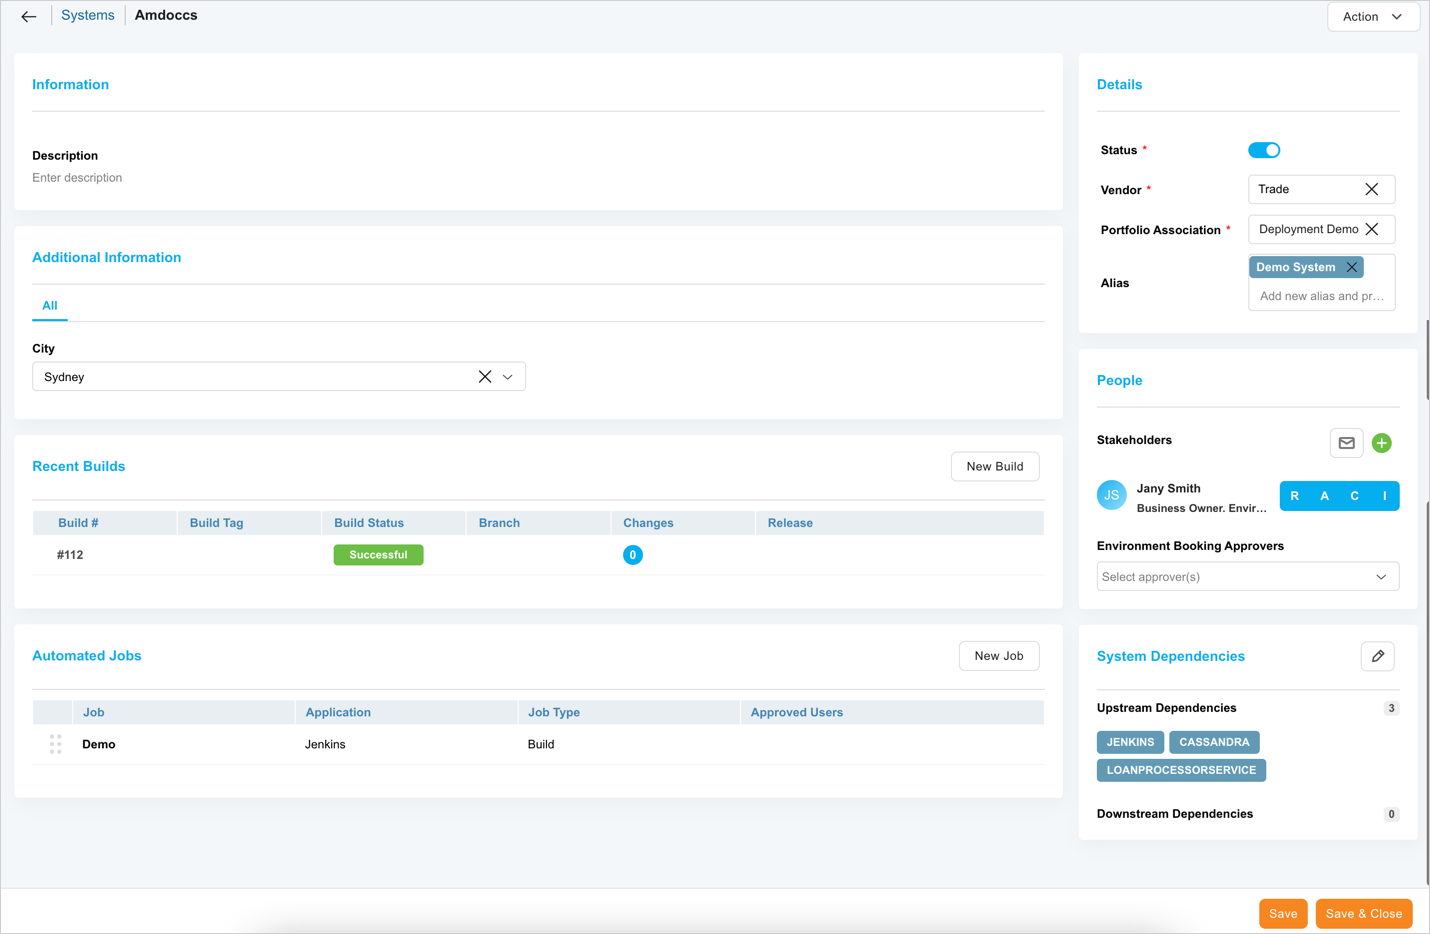
. - The ‘Create New System’ page displays. Fill in the fields as follows:
Manage Subsystems
To add Subsystems to the System, you must save the record by clicking ![]() . Click
. Click ![]() to add Subsystems to the System. For more details, see Manage Builds.
to add Subsystems to the System. For more details, see Manage Builds.
Manage Builds
To add builds to the System, you must save the record by clicking ![]() . Click
. Click ![]() to add build to the System. For more details, see Manage Builds.
to add build to the System. For more details, see Manage Builds.
Automated Jobs
To add automated jobs to the System, you must save the record by clicking ![]() . Click
. Click ![]() to add a new automated job to the System. For more details, see Orchestration Using Automated Jobs.
to add a new automated job to the System. For more details, see Orchestration Using Automated Jobs.
After making all the entries, click ![]() .
.
Click ![]() to save this System and create another.
to save this System and create another.
More Information
View Audit History
To view Audit History, open a System, then select History from the ![]() drop-down.
drop-down.
