
Setup (Custom Scripts) Customization allows administrators to add custom scripts which add functionality to entity types (modules) in Plutora.
For example, if you wanted some of the Release Additional Information custom fields to be mandatory for users to complete if they selected a certain Release Type, the Custom Scripts feature is a way to achieve that goal.
Scripts can now affect grids, such as Release Manager, and there’s a new trigger: OnPageLoad, which triggers after the page is loaded in a browser. This means, for example, that the Release Manager can be scripted to open with its grid column filters assigned.
Developers should see Use Cases And Sample Scripts For Setup (Custom Scripts) Customization.

Manage Custom Scripts
To manage custom scripts:
- Go to Settings
 > Customization > Custom Scripts.
 - Click Setup.
- Select an Entity Type:
- Release.
- Release Activities.
- TECR.
- TEBR.
- Change.
- Deployment Plan.
- PIR Item.
- Environment Booking.
- PIR.
- System.
- Environment.
- Environment Group.
- Insights.
- Release Schedule.
- Release Calendar.
- Your Release Activities.
- Environment Schedule.
- Activities By Status.
- Click Setup.
- Manage scripts:
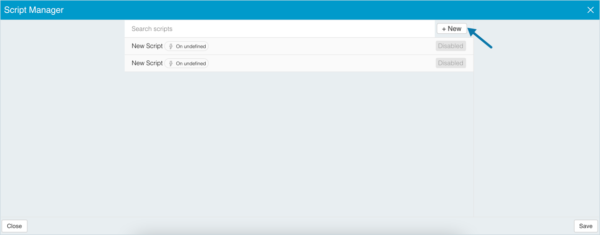
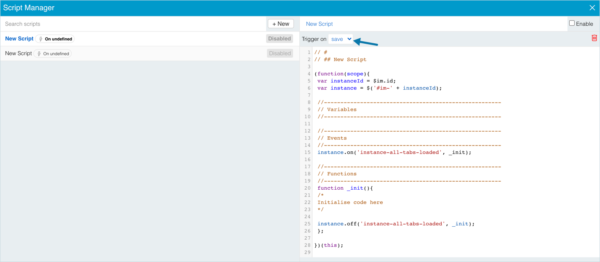
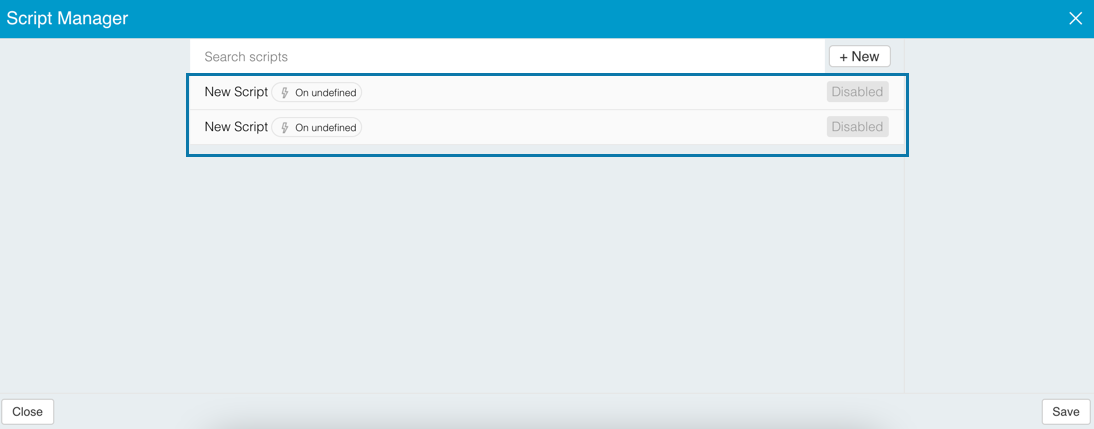
- Add or edit a script:
- Add: Click + New.
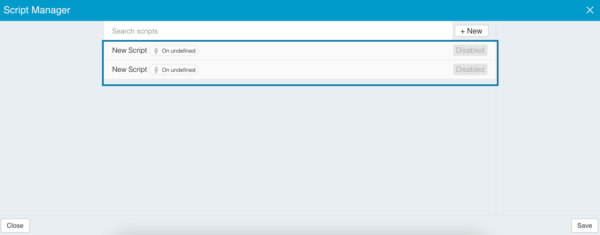
Edit: Click a script in the left-hand panel.
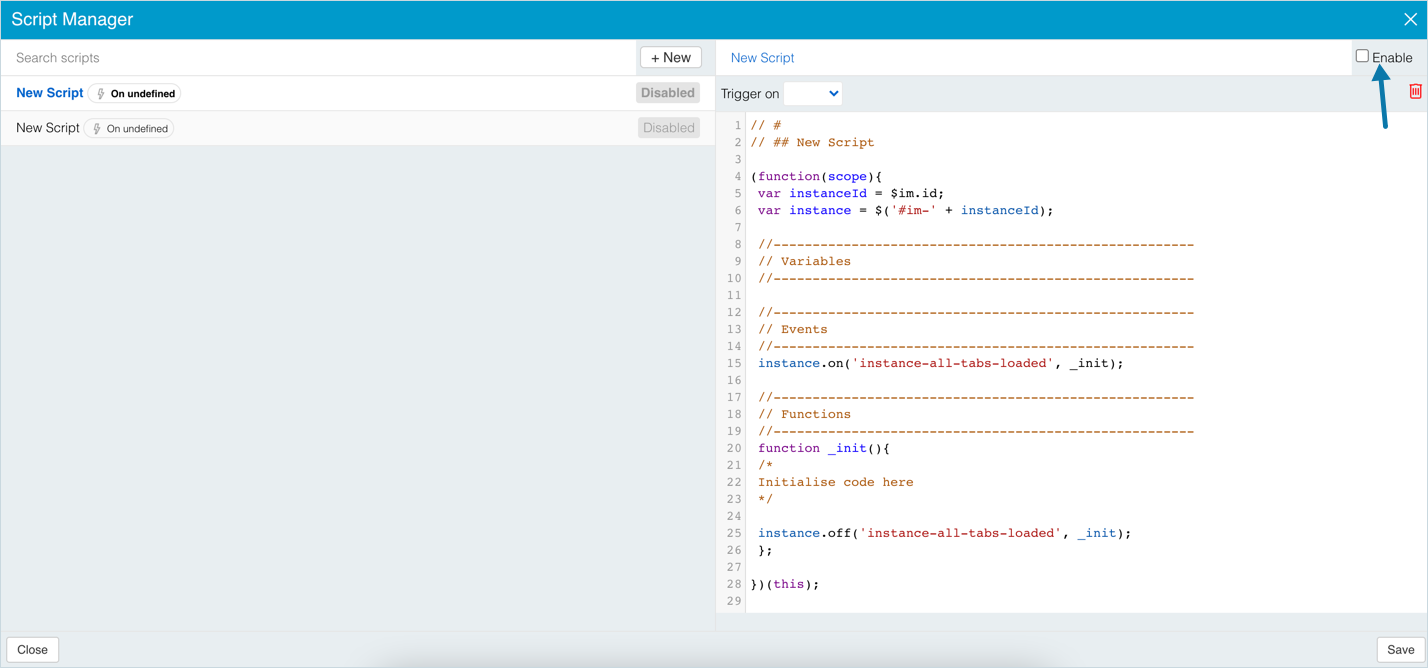
- Edit the script title:
- Click inside the title field.
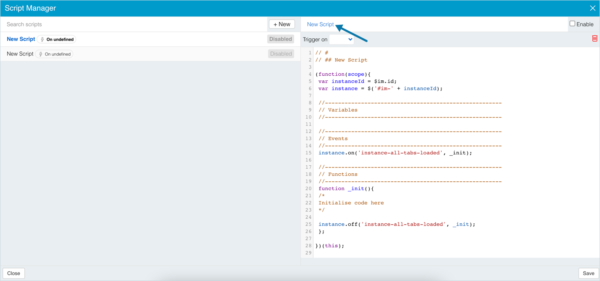
- Delete the title using your keyboard.
- Type a new title.
- Click inside the title field.
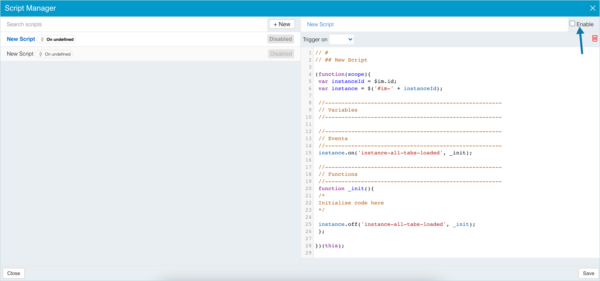
- Click to select the Enable checkbox which will make the script functional (once you have clicked Save).
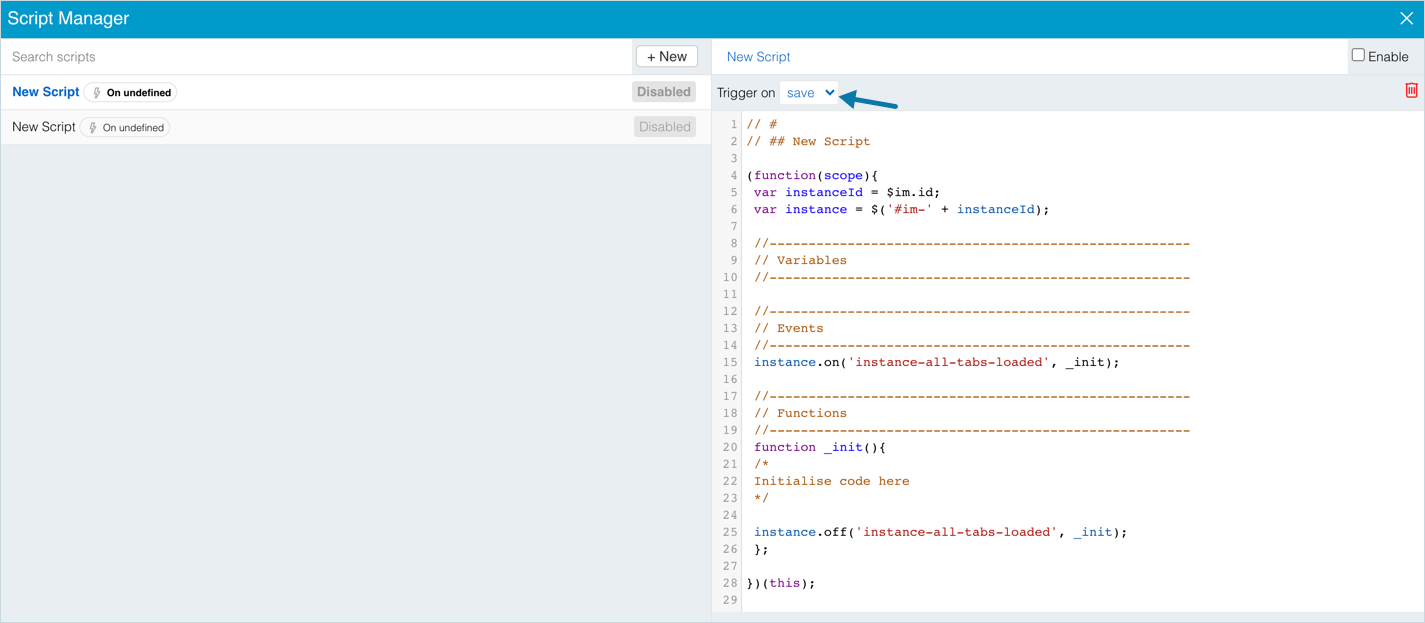
- Select the way the script will trigger from the Trigger on drop-down menu:
- Now users only see the applicable triggers per entity.
- Open, Save, and Close triggers now cache the script, leading to a performance improvement on the second and subsequent uses. If the script is updated, it will download again.
- What do triggers do?:
- Open:
- Runs the script after the target entity components are rendered.
- For example, a pop up or an embedded panel.
- The most commonly used trigger.
- Use cases:
- Attach OnClick listeners to elements.
- Hide mask, or disable elements based on conditions.
- Disable or enable tabs.
- Cosmetic UI changes.
- Additional validation conditions.
- Save:
- Runs the script after a successful save has occurred.
- If the save is not successful, the script will not be triggered.
- Use cases:
- After a save disable or enable tabs.
- Hide mask or disable elements based on conditions.
- Custom alert messages after a successful save.
- Close:
- Runs the script after the target entity components close.
- This trigger only functions for pop up window modals.
- OnPageLoad.
- Runs the script after a page opens.
- OnAppLoad:
- Runs the script before the target entity components are rendered.
- Only available for Release entity.
- Only used for unique cases by Plutora developers as knowledge of the logic around the code is required.
- Use cases:
- Redefining Ext JS components.
- Dramatic UI changes.
- Changes in workflow.
- Open:
- Available triggers by Entity:
- Change: Open, Save, Close, OnPageLoad.
- Deployment Plan: Open, Save, Close, OnPageLoad.
- Environment: Open, Save, Close, OnPageLoad.
- Environment Booking: Open, Save, Close.
- Environment Group: Open, Save, Close.
- PIR: Open, Save, Close, OnPageLoad.
- PIR Item: Open, Save, Close.
- PIR Item Root Cause: Open, Save, Close.
- Release: Open, Save, Close, OnAppLoad, OnPageLoad.
- System: Open, Save, Close, OnPageLoad.
- TEBR: Open, Save, Close.
- TECR: Open, Save, Close.
- Insights: OnPageLoad.
- Release Schedule: OnPageLoad.
- Release Calendar: OnPageLoad.
- Your Release Activities: Open, Close.
No Save as this pop up can only Bulk Update. - Environment Schedule: OnPageLoad.
- Activities By Status: OnPageLoad.
- Release Activity: Open, Save, Close.
- Now users only see the applicable triggers per entity.
- Type or paste the script.
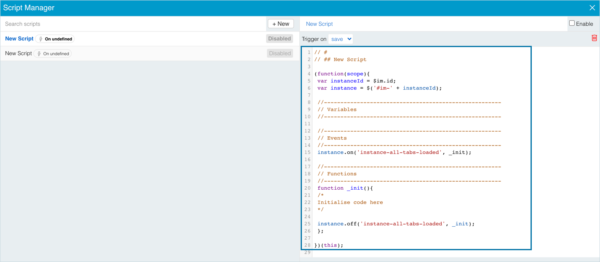
- It is important to use the template provided to encapsulate your script.
- This contains the script and its declared variables so they won’t affect global scope.
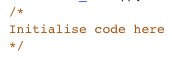
- Place the code after: Initialise code here.
- See below to find out how to obtain an ItemID for your script.
- To target elements, declare a model object and assign it a window property to the value of $im. This will give you access to the window, which is a good starting point for entities contained in a pop up modal window.
var modal = {};
modal.window = $im; - To access a user’s role names:
- var userRoles = PlutoraApp.User.RoleNames;
- To access a user’s role IDs:
- var userRoleIDs = PlutoraApp.User.RoleIds;
- Ask Plutora Support for help with script creation.
- Click Save.
- Add: Click + New.
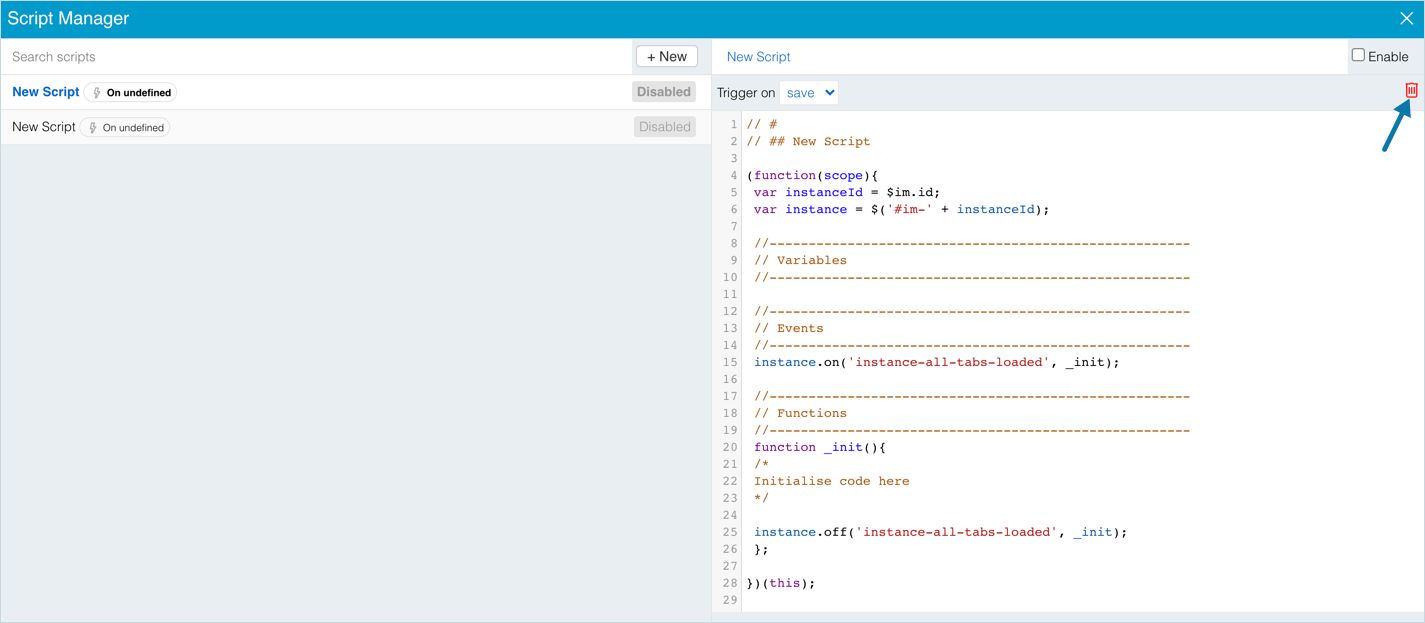
- Delete a script:
To disable a script without deleting it, deselect the script’s Enable checkbox and click Save.- Click to select a script.
- Click the red trash bin delete button.
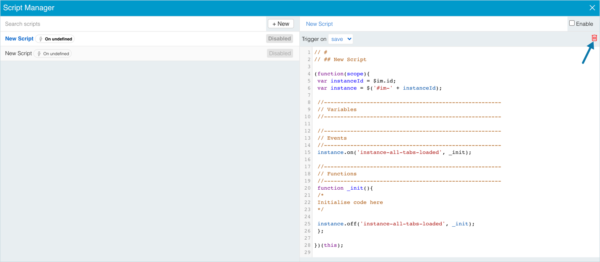
There is no confirmation pop up after clicking the delete button. Keep a backup of your scripts in case of accidental deletion.
- Add or edit a script:
- Click Close to close the Script Manager pop up.


How to get a component’s itemID using Chrome
To get a component’s itemId to use in your script:
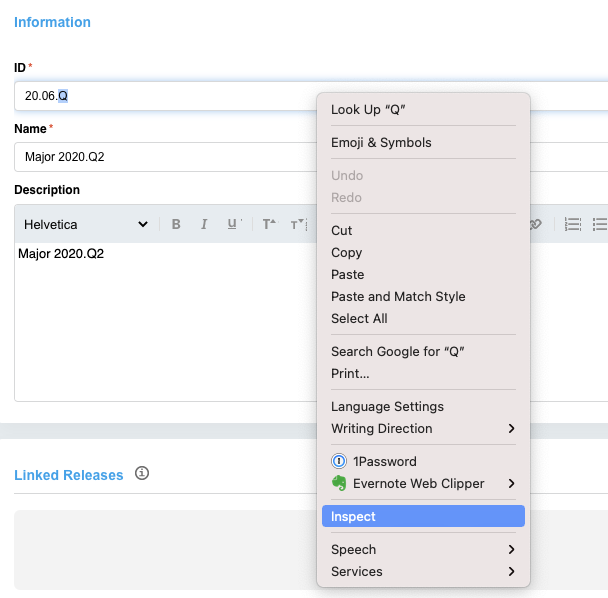
- Open Chrome browser.
- Right click on the element and select Inspect.
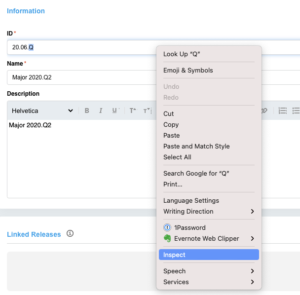
- Inspect the element under the Element tab.
- Record the element’s component ID.

- Click the Console tab.
- To assign the targeted component to a variable called x:
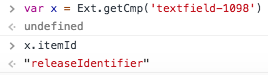
- Call the Ext.getCmp method by typing var x = Ext.getCmp(‘componentID’) into the Console.
- For example, type var x = Ext.getCmp(‘textfield-1098’)
- Press the Return key on your keyboard.
- The Console will return undefined.
- Call the Ext.getCmp method by typing var x = Ext.getCmp(‘componentID’) into the Console.
- To access variable x’s itemID property to get the component ID to use within your script:
- Type x.itemId into the Console.
- Press the Return key on your keyboard.
- The Console will return the itemID. In the example above, “releaseIdentifier”.
- Use the itemID in your script to target the field.
- If no itemID is returned, see Traversing up elements below to find out how to include a component in a script that doesn’t have an itemID.


Traversing up elements
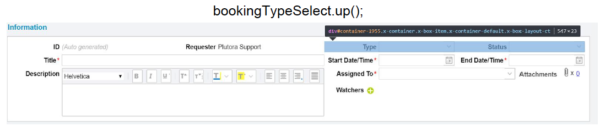
In the cases where a component lacks an itemID, it can be possible to traverse up from a child element that does have an itemID by calling the Ext JS ‘up‘ method on the child. This can be chained until the desired container is reached.
For example:
- Child element: TEBR Type field on the TEBR pop up.
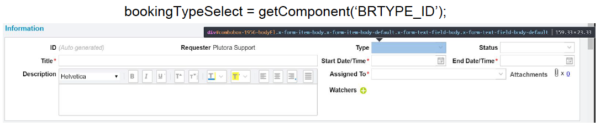
- Up one step: TEBR Type field and TEBR Status field.
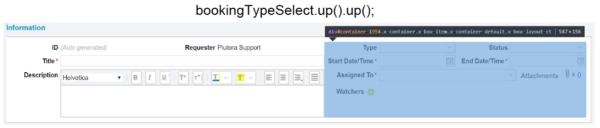
- Up two steps: The right side of the Information panel in the TEBR pop up.
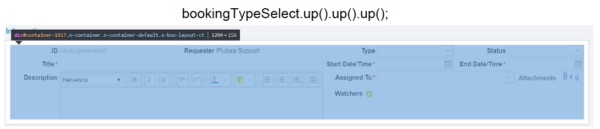
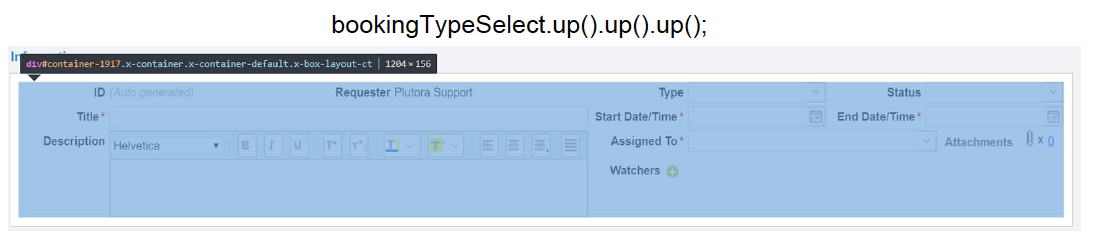
- Up three steps: The whole Information panel in the TEBR pop up.


![]()